Data
Data is the raw material for all experiments. All your data are scoped to a project and you can access them from the “Data” section on the collapsing sidebar
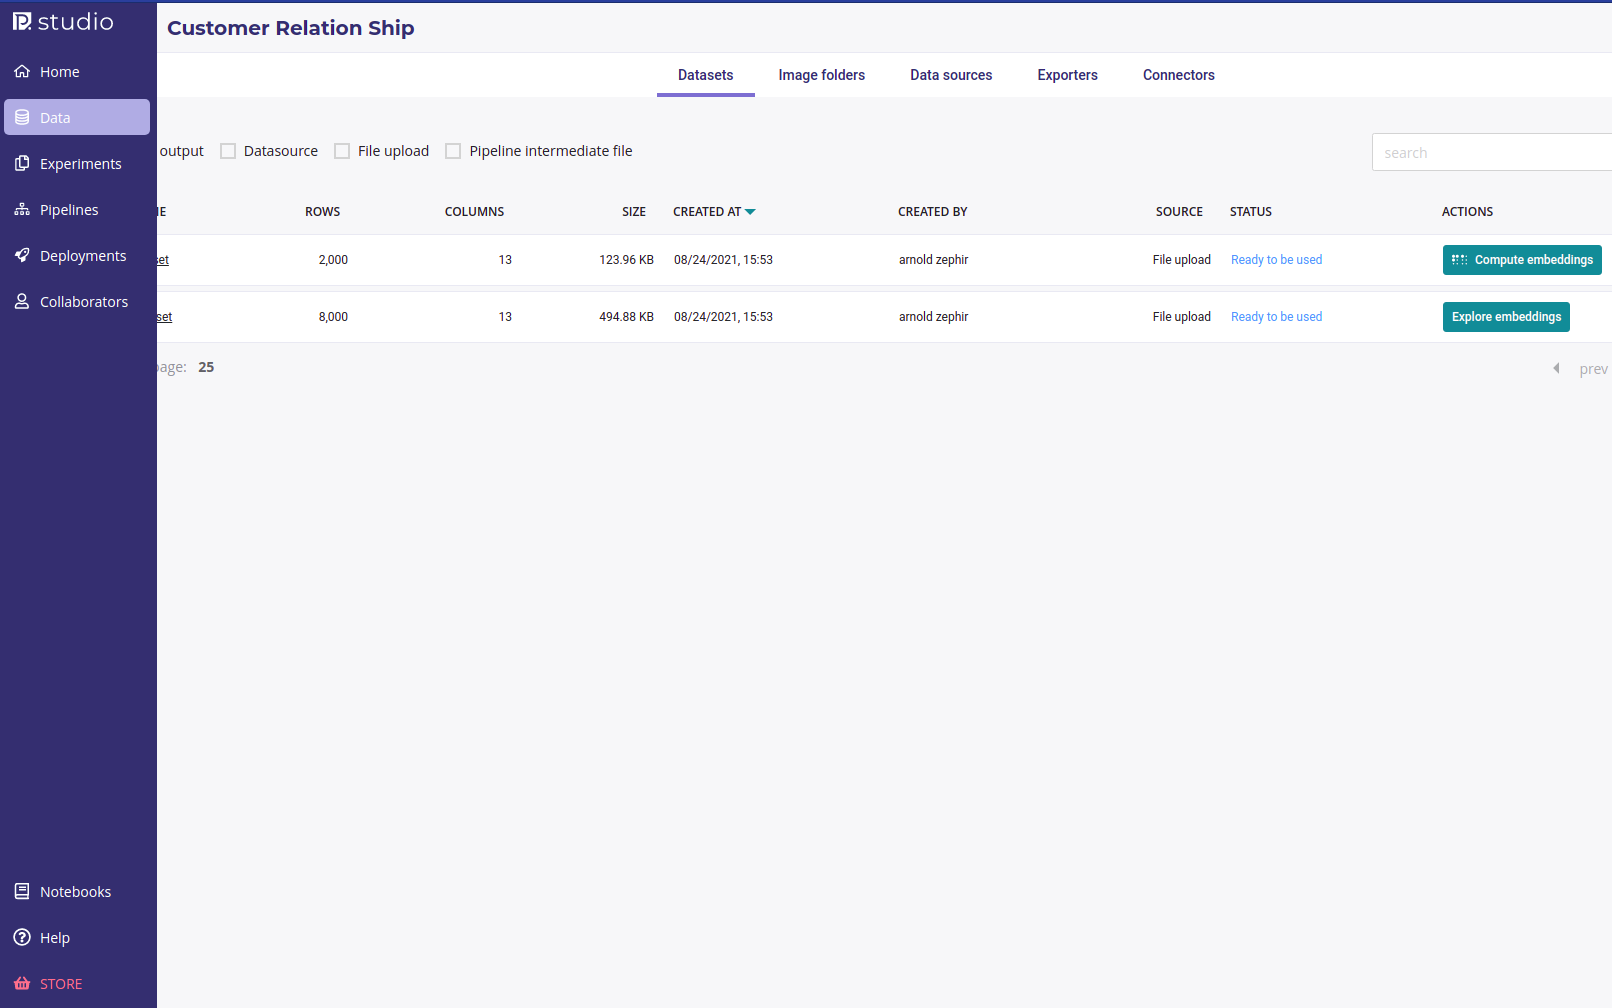
Data section
The datas section holds 5 kind of assets :
datasets : input for train, predictions and pipelines
Image folders : folders containing image
Data sources : information about location ( database, table, folder) or remote dataset
Exporters : information about remote table for exporting prediction
Datasets
Datasets are tabular data resulting from a flat file upload, a Datasource or a pipeline execution. They are input for training, predicting and pipeline execution
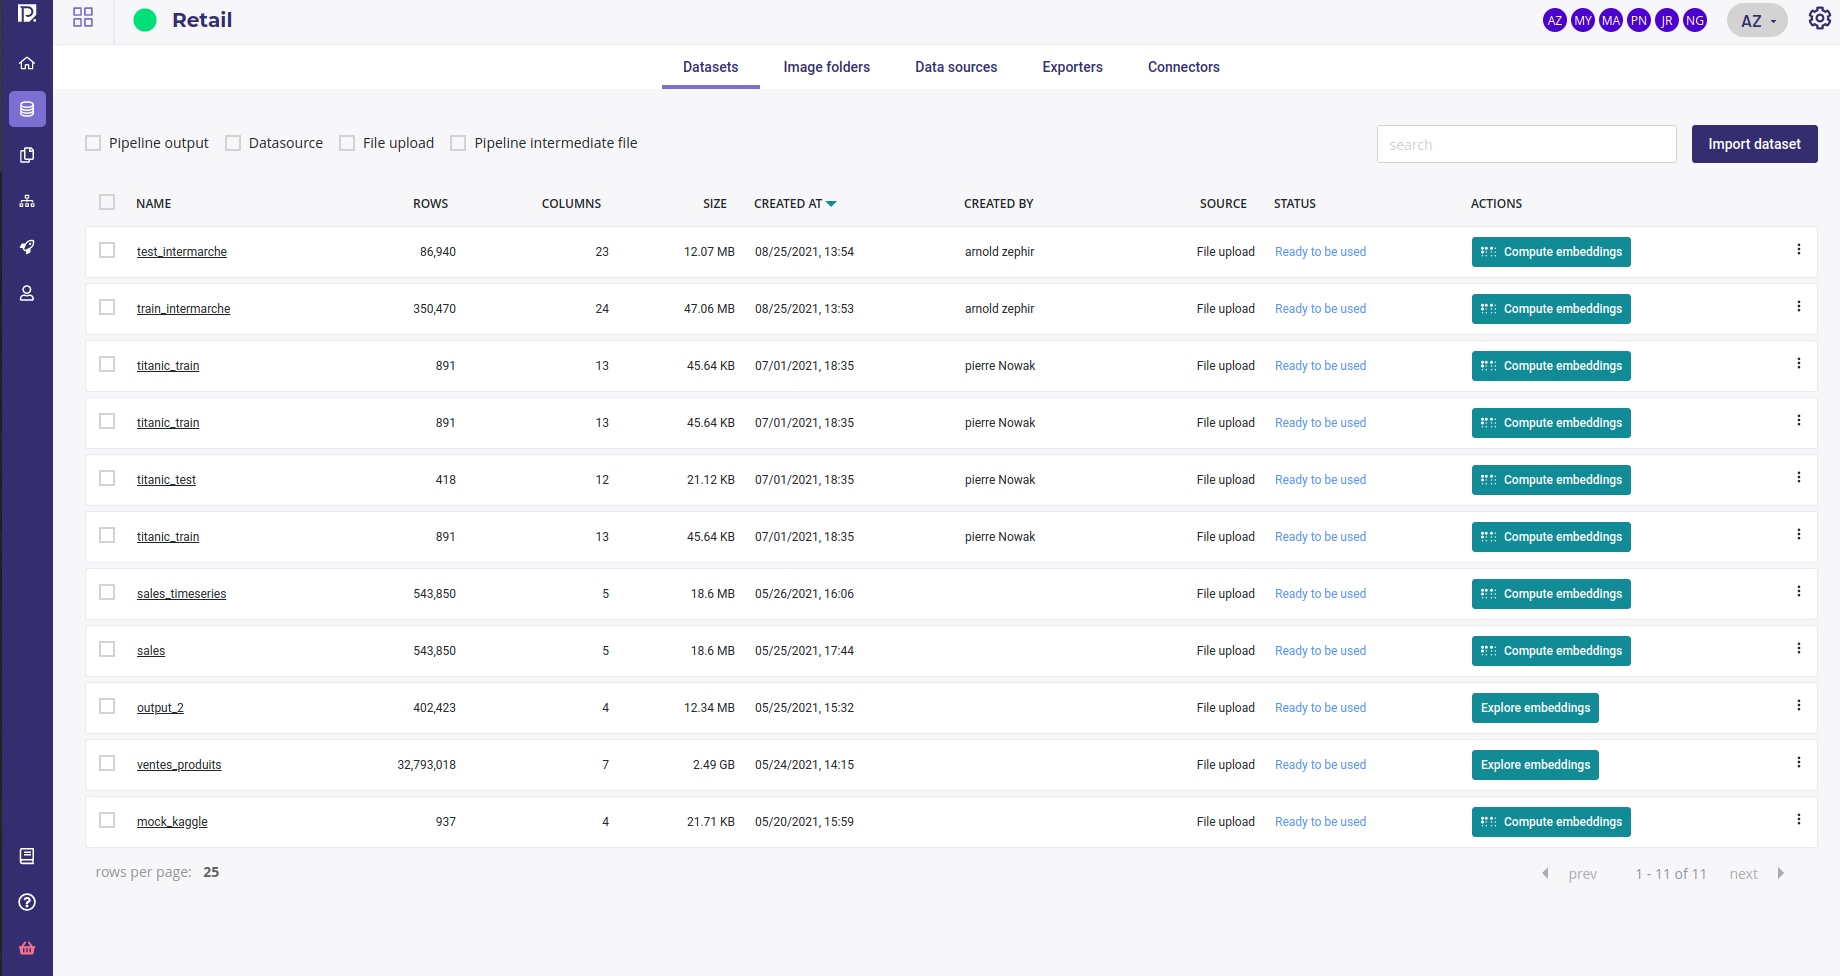
Dataset list
Datasets
may be created from file upload
may be created from data source
may be created from pipeline output
may be downloaded
may be exported with exporters
may be used as pipeline input
When you click on the datasets tabs, you see a list of your dataset with :
filter checkbox for origin of the dataset ( pipeline output, Datasource, File upload, Pipeline intermediate file)
search box filtering on the name of datasets
name of the datasets and information about them
status. A dataset could be unavailable a short time after its creation due to parsing.
a button to compute embeddings or explore them if already computed ( see the guide about exploring data )
Create a new dataset
In order to create new experiments you need a dataset. They can be created by clicking on the “import dataset” button.
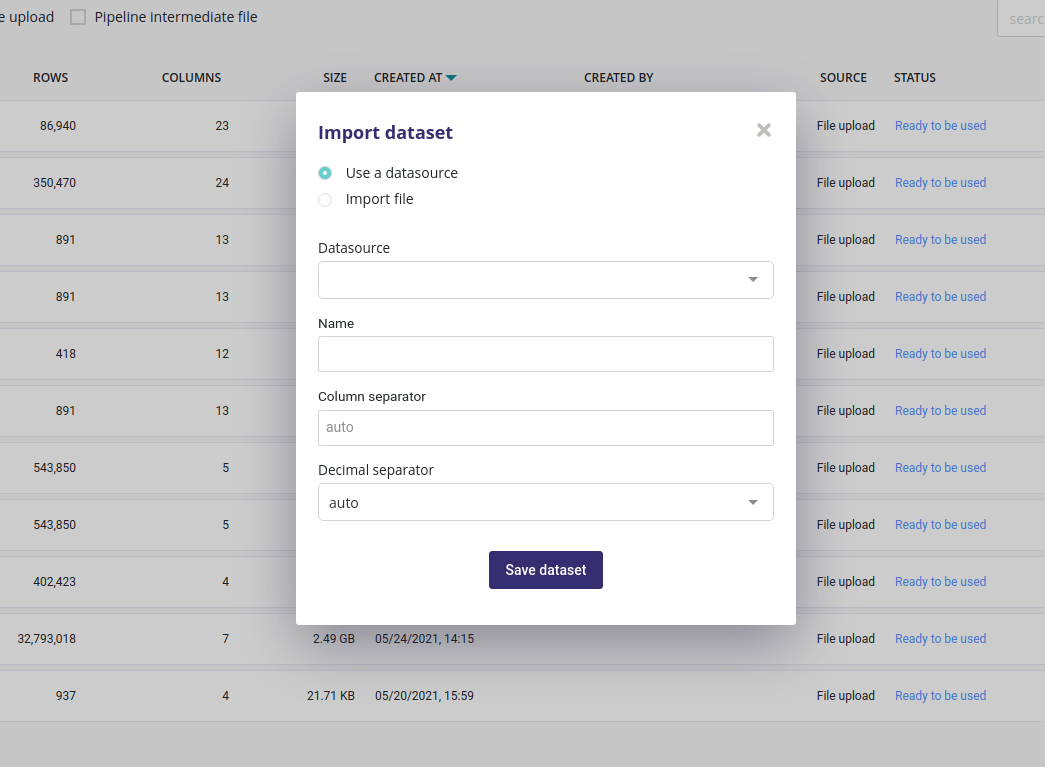
Dataset import
Dataset are always created from tabular data (database table or files ). You can import data from a previously created datasource or from a flat csv file.
For data coming from file ( upload, ftp, bucket, S3,…) you could input the columns and decimals separator but the auto detect algorithm will work in most of case.
When you click on the “save dataset” button, the dataset will immediately be displayed in your list of dataset but won’t be available for a few seconds. Once a dataset is ready, its status will change to “Ready to be used” and you can then compute embedding and use it from training and predicting.
Analyse dataset
Once a dataset is ready, you got access to a dedicated page with detail about your dataset
General Information : Dataset summary, feature distribution and correlation matrix of its features
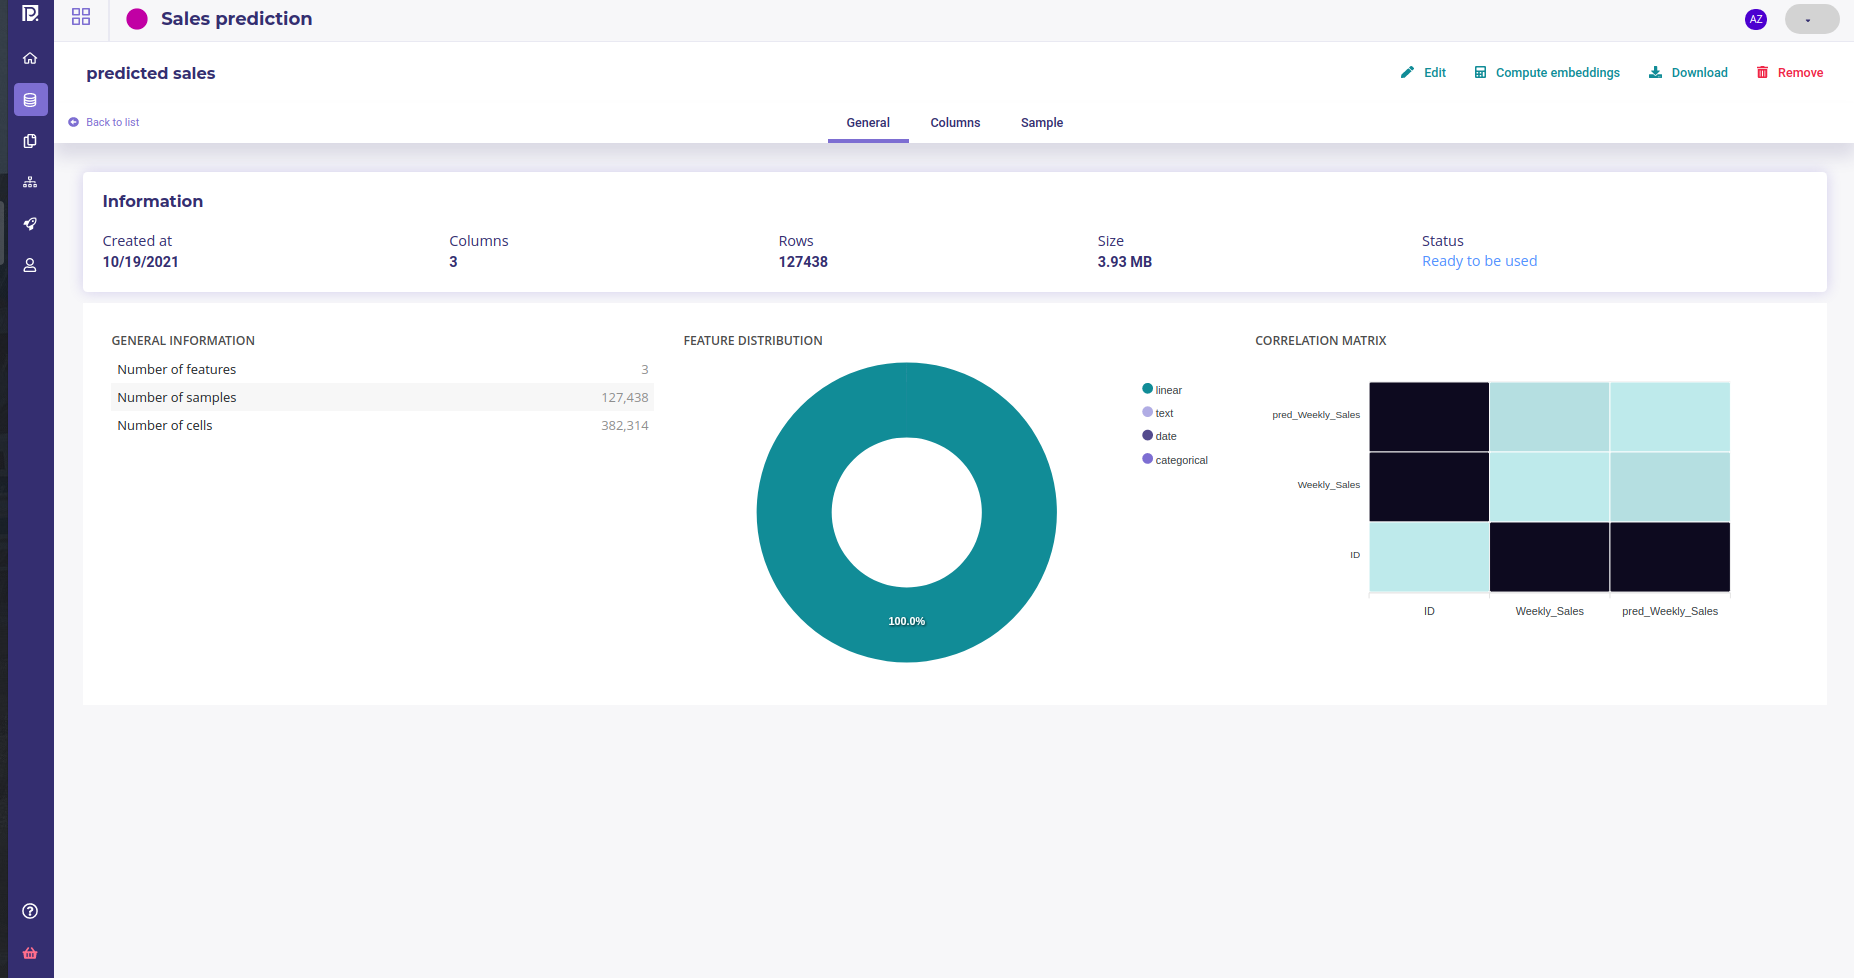
Dataset detail
Columns : Information about its columns. You can click on a column to get more information about it, its distribution for example
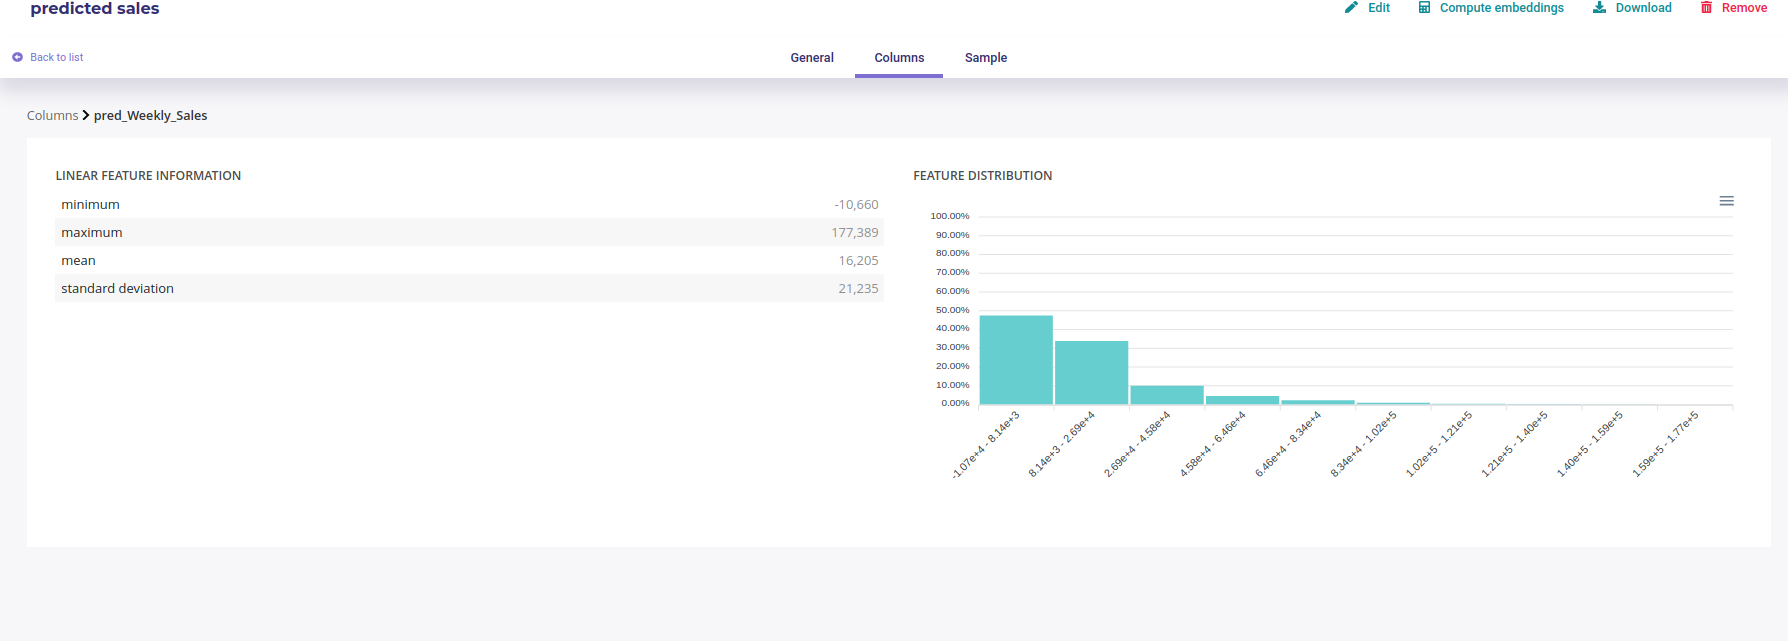
Detail of a column
Sample : a very short sample of the dataset
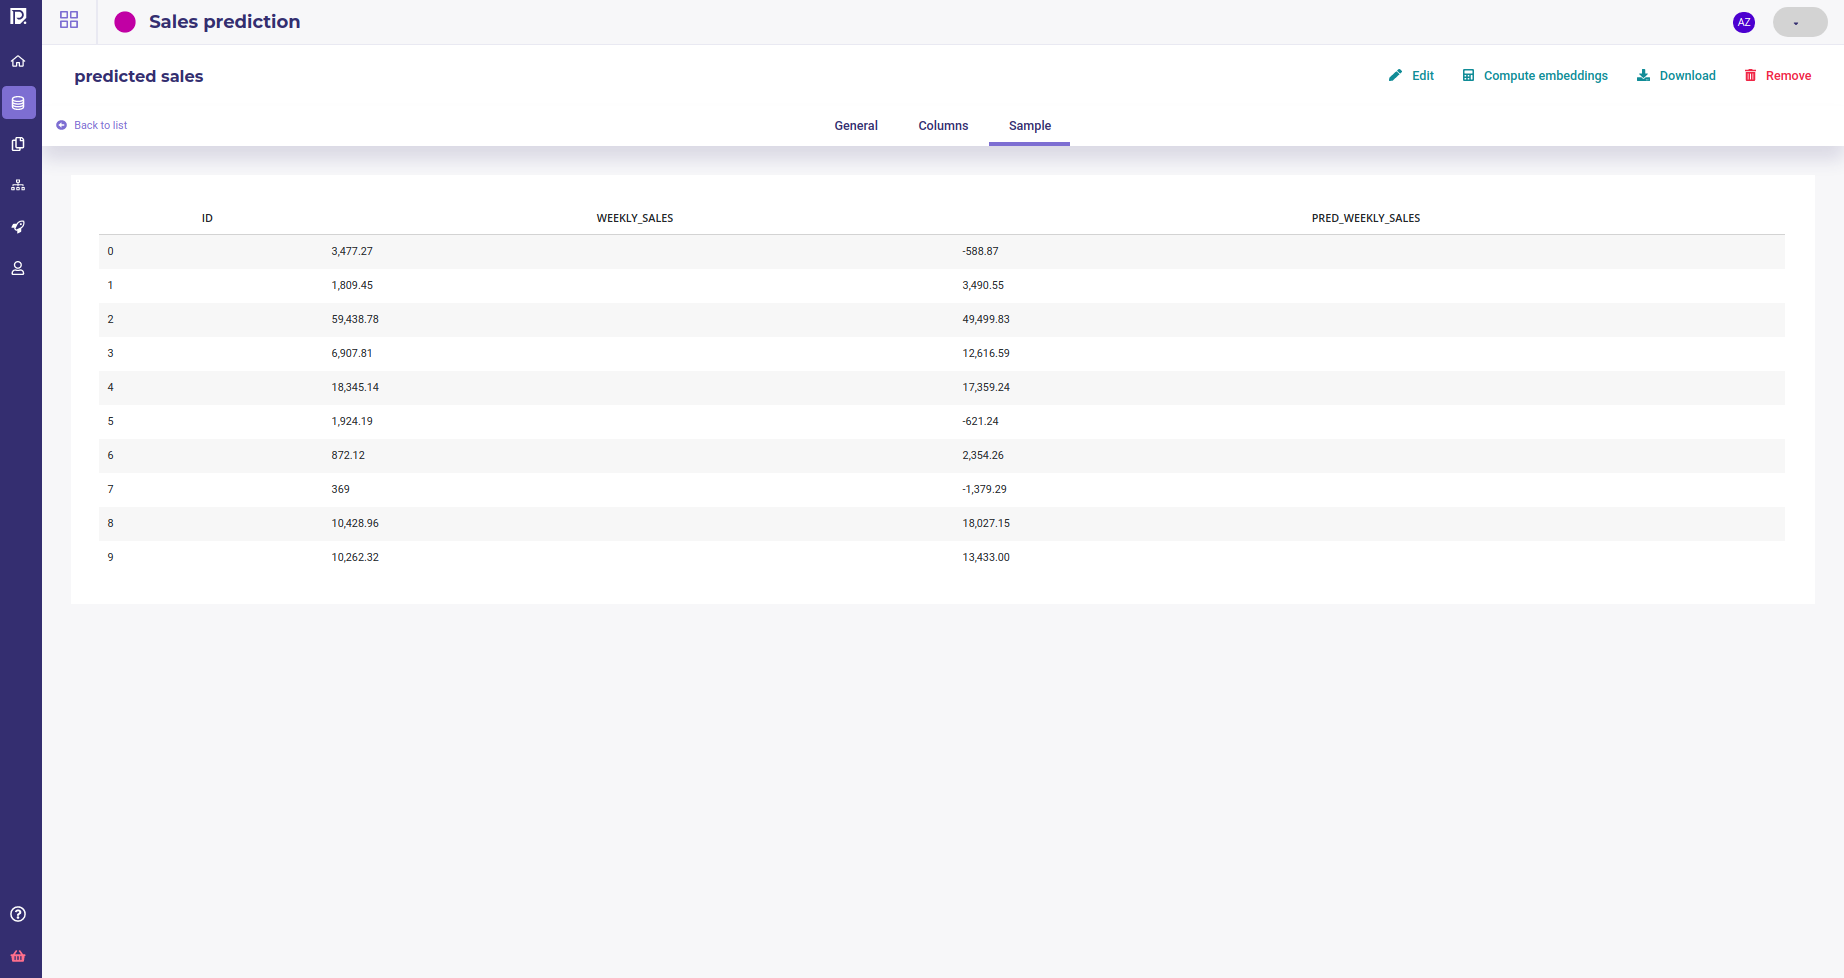
Sample of a dataset
Edit and delete
You can edit name of a dataset, download it or remove it of your storage either in the top nav menu of the dataset details page or from the dot menu in the list of your dataset.

Edit and remove dataset
When you remove a dataset, local data are completely removed. Data source data are left untouched.
Compute embeddings
See the : Complete Guide for exploring data
Image folders
Image folders are storage for your image. It is source material for image experiments (classification, object detector, …). For Images experiments you need an image folder.
Image folders
may be creating from file upload
can not use datasource or connectors
can be downloaded
can not be exported
Create a new image folder
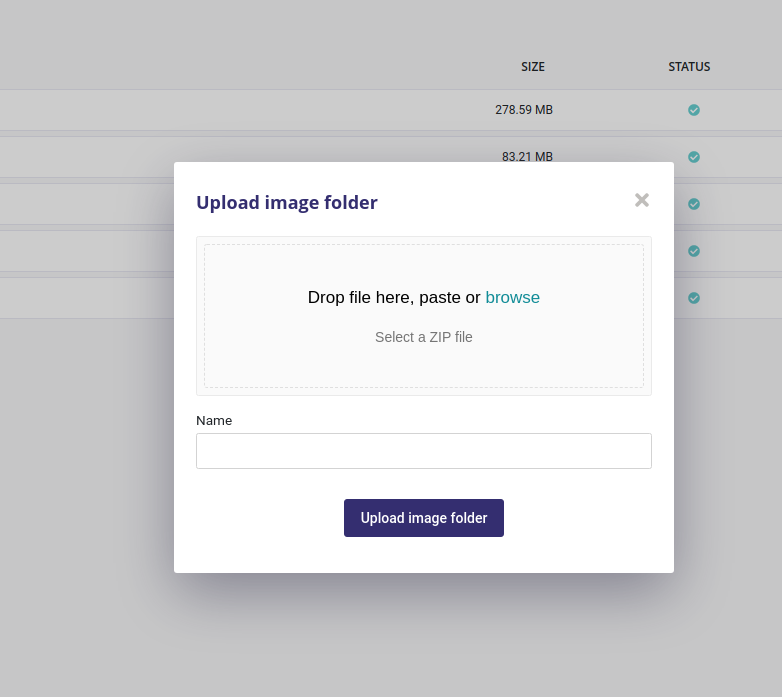
Upload a folder of image
When clicking on “Upload Image Folder” button, you can upload a zip file either from drag and dropping it or from selecting it from your local file browser. The zip file must contain only image but they can be organized into folders.
After having given a name, just click on “upload image folder” and wait. Your images will be available for experiments in a few seconds.
Edit and remove
You can edit the name of of your folder from the list of image folder, using the three-dots menu on the right. Removing the image folder from your storage is available from this menu too.
Connectors
Connectors are used to hold credentials used to access external databases or filesystems. You need to create a connector first to use Datasources and Exporters.
connectors
may be used for creating data source
may be used for creating exporter
There are two kind of connectors :
Connectors to database table ( Any SQL Database )
Connectors to storage ( FTP, SFTP, Amazon S3 or Google Cloud Platform ) that contain dataset
In the Prevision.io platform you can set up connectors in order to connect the application directly to your data sources and generate datasets.
The general logic to import data in Prevision.io is the following:
Connectors hold credentials & connection information (url, etc.)
Datasources point to a specific table or file
Datasets are imported form datasource
You can see all your existing Connectors in the data section or your project, in the Connectors tab

Connector List
Create Connector
By clicking on the “new connector” button, you will be able to create and configure a new connector. You will need to provide information depending on connector’s type in order for the platform to be able to connect to your database/file server.
Note
TIPS : you can test your connector when configured by clicking the “test connector” button.
SQL
You can connect any SQL Database by providing standard information :
an host url
a port
a username
a password

Create a new sql connector
FTP and SFTP
FTP and SFTP use the same informations as an SQL database :
an host url
a port
a username
a password
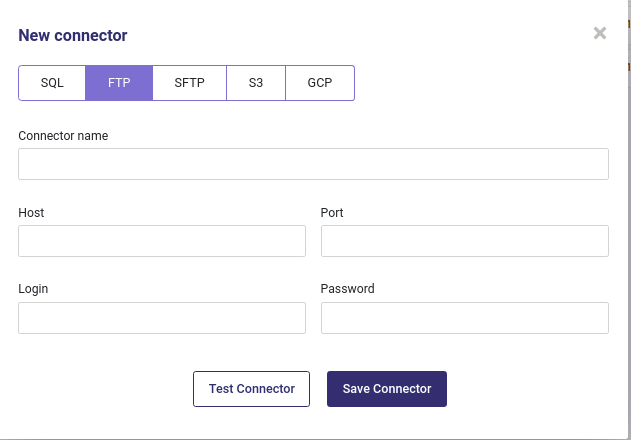
Create a new ftp connector
When creating an FTP or SFTP connector, remember that the connector will open to the root folder of your ftp server so you must use the complete path for datasrouce created from this connectors.
Amazon S3
You can get any dataset hosted on Amazon S3 storage by using an acess key ( see The Amazon Guide to get yours )
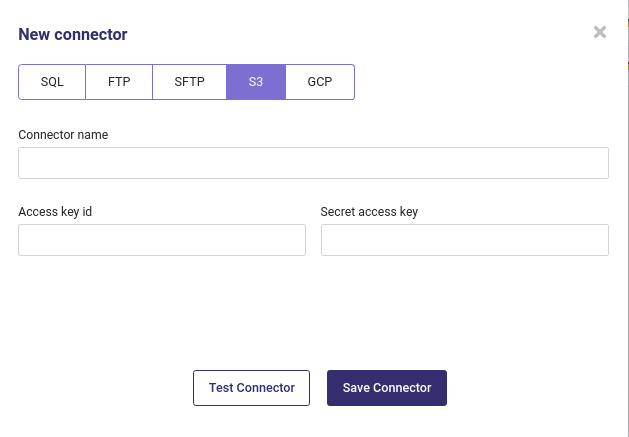
Create a new S3 connector
GCP
If you have data hosted on Google Cloud Bucket, you can connect your bucket with the GCP connector.
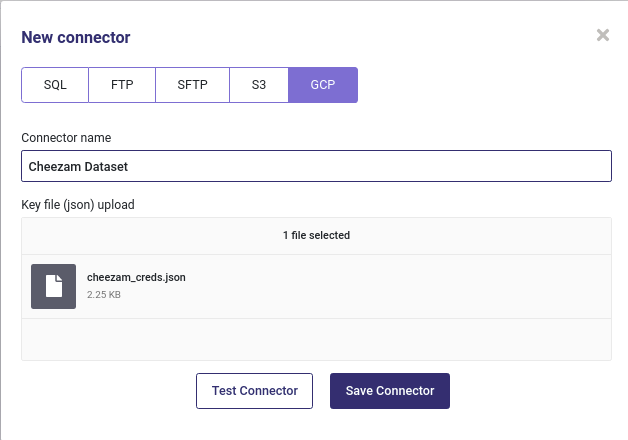
Create a new GCP connector
GCP connector required a json file with your bucket credentials. See here how to get them. Your key should look like that :
{
"type": "service_account",
"project_id": "project-id",
"private_key_id": "key-id",
"private_key": "-----BEGIN PRIVATE KEY-----\nprivate-key\n-----END PRIVATE KEY-----\n",
"client_email": "service-account-email",
"client_id": "client-id",
"auth_uri": "https://accounts.google.com/o/oauth2/auth",
"token_uri": "https://accounts.google.com/o/oauth2/token",
"auth_provider_x509_cert_url": "https://www.googleapis.com/oauth2/v1/certs",
"client_x509_cert_url": "https://www.googleapis.com/robot/v1/metadata/x509/service-account-email"
}
Once you got your GCP json credentials file, just upload it to connect your Bucket
Once connectors are added, you will find them in the list of all your connectors. You can, by clicking on the action button :
test the connector
edit the connector
delete the connector
Once at least one connector is well configured, you will be able to use the data sources menu in order to create CSV from your database or file server.
Data sources
data sources
need a connector
may be used as input of a pipeline
may be used to import dataset
Datasources represent “dynamic” datasets, whose data can be hosted on an external database or filesystem. Using a pre-defined connector, you can specify a query, table name or path to a file to extract the data.
Each datasource is one tabular dataset that can be import to Prevision. All your datasources are available from the datas section of you project, under the Data sources tab.
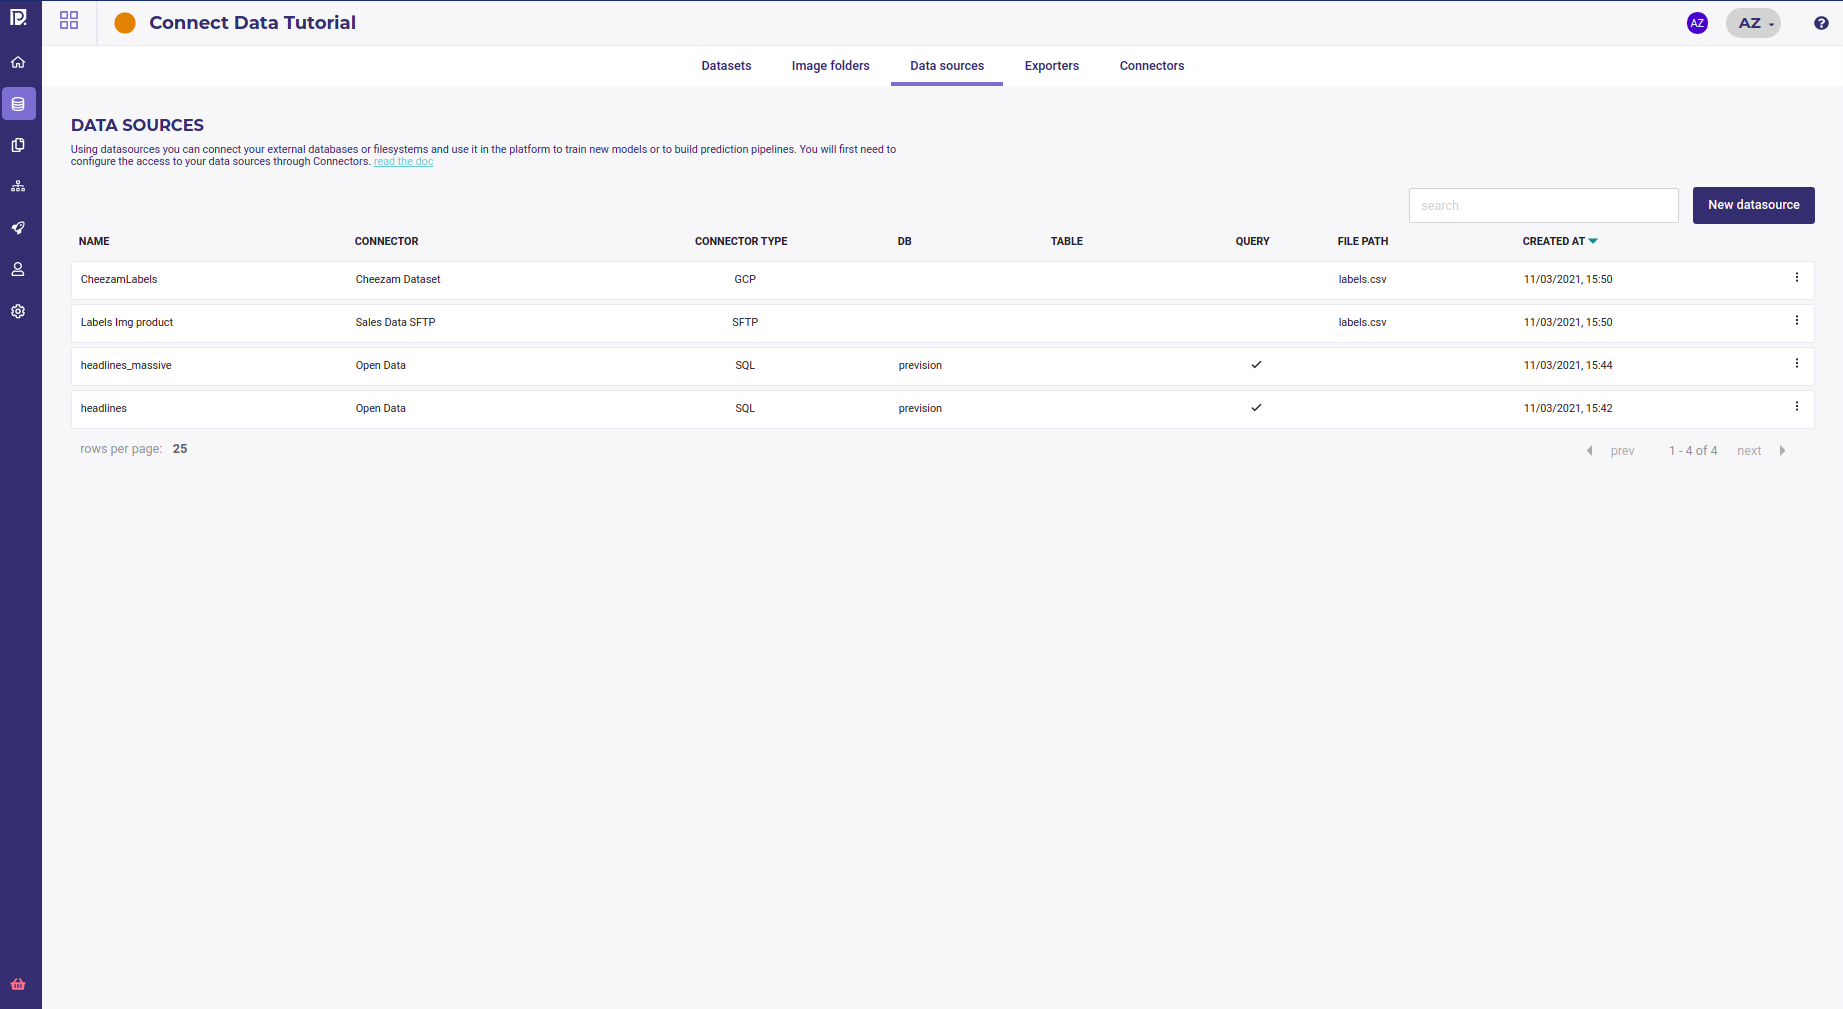
View all my datasource
By clicking the New datasource button you can create a datasource from a connector
A datasource is created from a connector thus you always need to select one when creating a new datasource.
Create datasource instead of dataset allows to point to dynamic data and thus schedule train and prediction on always the same datasource while the datas are updated.
For example, you can create a “weekly_sales” datasource that is pointing to a database table where data about sales are loaded each Sunday and then schedule a predit from this datasource each Monday.
Table as a datasource
You can create a datasource from any table from an sql connector. When selecting an SQL connector, you will be prompted to input a database and table names :
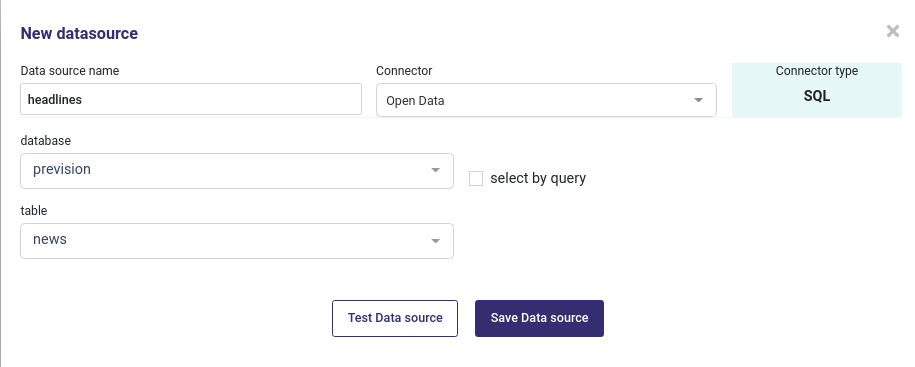
Import a table from a database
Using this for train or predict will import all the table. Be warned that if the table is big, the import process may last long. In most of case you’d better use a query.
Query as a datasource
From an SQL connector you can create datasource with an sql query :
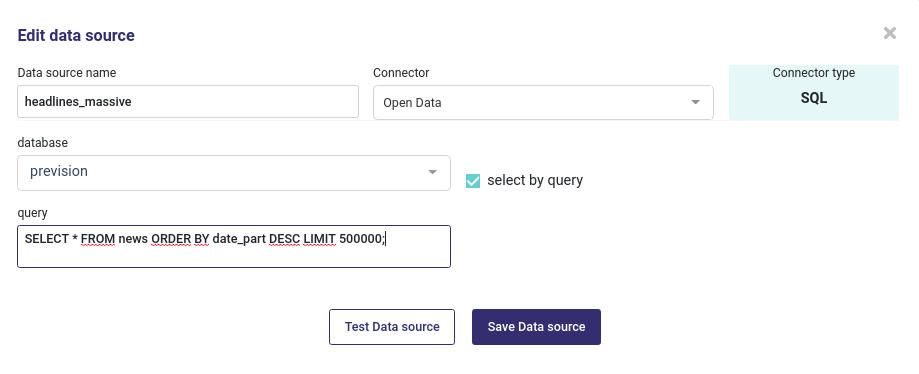
Import a table from an SQL Query
Any query can run as long as your source database support it
S/FTP server file as datasource
When using an FTP or SFTP server, you could set an csv file as datasource :
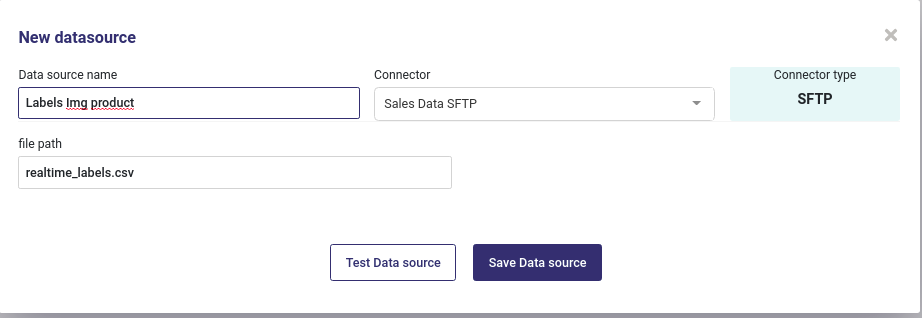
Import a file from FTP server
Note that :
you could ony import csv data
the path to you file starts from the root of your ftp server
S3 Bucket
If you want to create a datasource from a file in Amazon S3 Storage, you must input name of the bucket and name of the file :
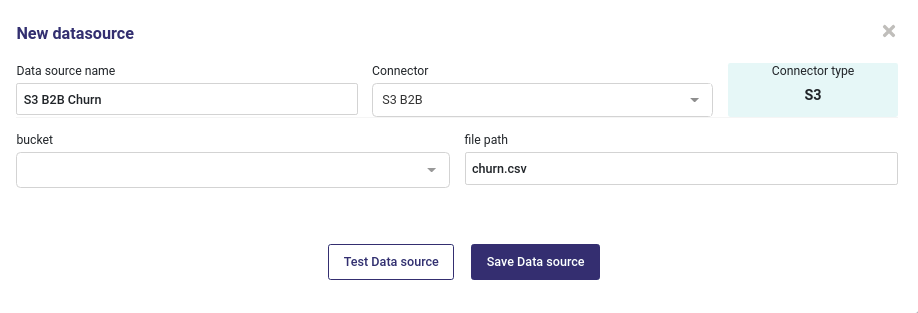
Import a file from an S3 Bucket
Only CSV files are supported and you can not import images folder from S3 Bucket.
Datasource from GCP
GCP Connectors offer two options :
either point to a file in a bucket
or point to a table of a big Query database
If you use the storage method, you have to input name of your bucket and name of your file :
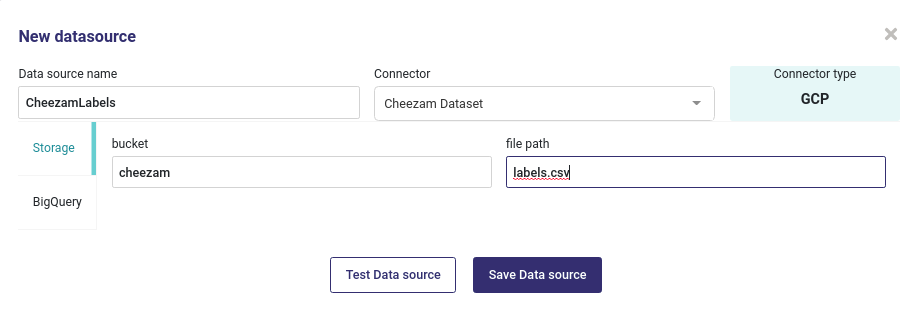
Import a file from a GCP Bucket
When using BigQuery, you must input the name of the dataset and the name of the Table
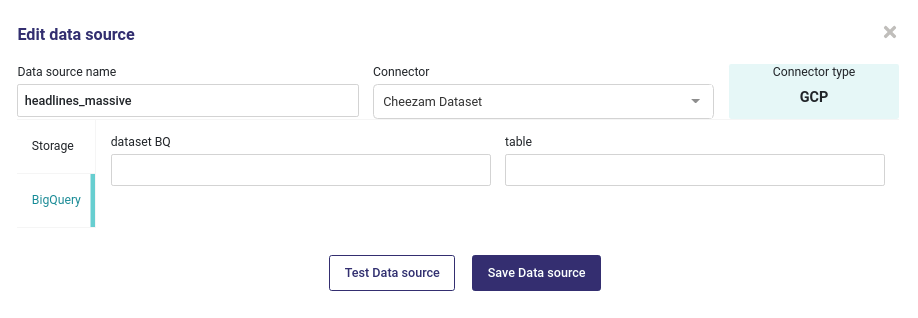
Import a file from a GCP Big Query Table
Once you input all your information, click on Test Data Source to test it and then on Save Data Source when datasource is fine. The Data Source is created immediately and is displayed in your list of datasource.
Note that data are notimported into your account.
You can either build an experiment by creating a dataset from your datasource or build a pipeline in order to schedule predictions
Import your datas
Once you created a datasource, you can import it as a dataset to start to experiment by going to the Datasets tab of your projects’s data section :
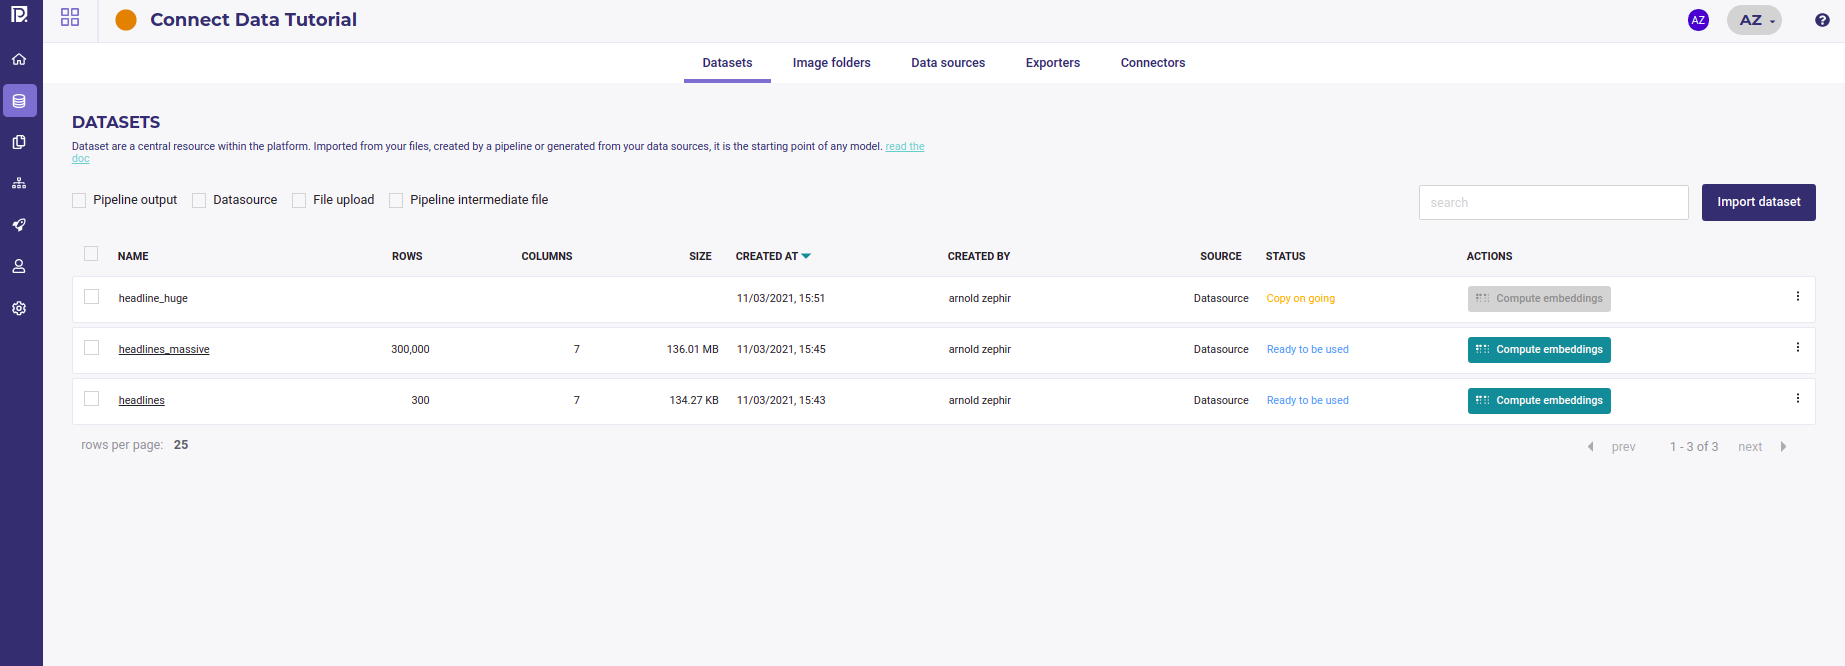
List all your datasets
Clicking on the import dataset button opens a modal windows where you can select a datasource previously created.

Import Datas from a datasource
By clicking on save, the importation will start and your dataset and its status will be displayed in your dataset list. There are 3 status :
Copy on going : dataset is copied from remote datasource
Dataset Statistics pending : copy is done and dataset analysis is running
Ready to be used : you can start to experiment ( or launch an embedding )
Exporters
In the same way that Datasources are used to import data into Prevision.io, Exporters are used when you write the data generated in the platform to an external database or filesystem. They also require a connector, and have similar configuration options.
Once you had create an exporter, you may use it :
to write the result of a pipeline
to export one of your dataset
Exporters
need a connector
may be use as output of a pipeline
may be used to export dataset
You can view all your exporters in the Exporters tab of your project’s Data section

List Your exporters
Using an exporter allows you to deliver your dataset transformations and prediction to your user or stakeholder either once or on a scheduled basis.
Create an exporter
When clicking on the new exporter button inside the Exporters tabs , you will be prompted to enter some information to the location you want to export your data when using this exporter, depending on the connector used.
Whatever the connector you used, you need to select an overwrite mode :

Exporters overwrite options
The options are :
Add a timestamp: a timestamp will be added to the file name. For example label_cheezam.csv becomes label_cheezam_2021-07-12T15:22:29.csv ( or the table name )
Cancel export: if a file or a table with the same name already exists, cancel the export and do not overwrite it.
Overwrite File: overwrite the file or table if exists.
Depending on your usecase, you may choose one of this options. Of course in order to works, your exporter must used a connecotr with write permissions.
FTP and SFTP
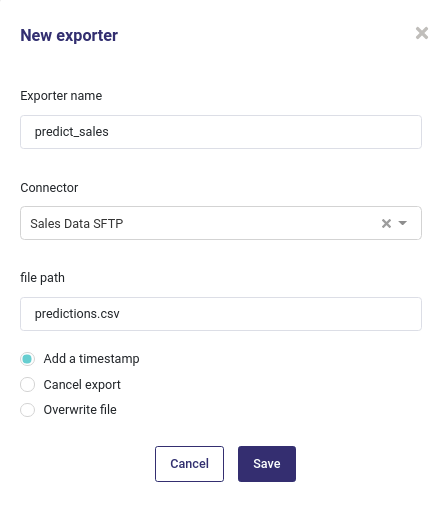
Create an ftp exporter
For FTP and SFTP, you only have to enter the path where to export your dataset. If it does not exist on the server, it won’t be created.
S3 and GCP
For Amazon S3 and google bucket, you need to input the name of the bucket and the name of a file for saving.
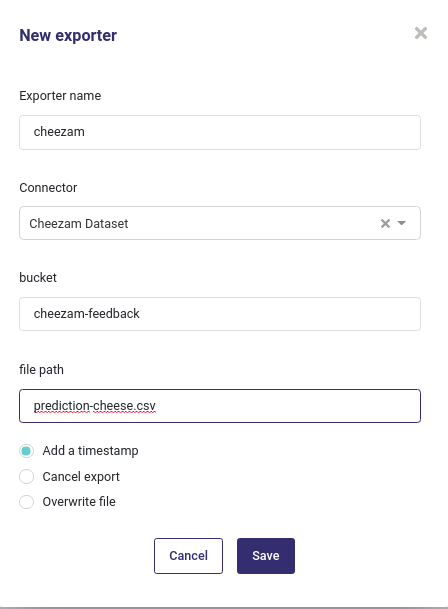
Create a storage exporter
SQL Database
When exporting to a remote databse, you must input both the database name and a table name.
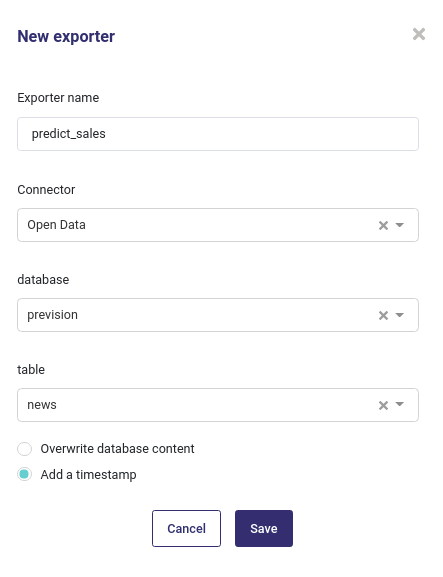
Create a db exporter
Using an exporter - export your dataset
Typical examples for exporters are :
delivering predictions to external system
delivering transformed dataset to external system
Once you had created an exporter, you can use it on any datasets from your dataset list, with the action button

export form dataset List
When selecting the “Use an exporter” action from a dataset, you only have to select the exporter to use and then click the button export
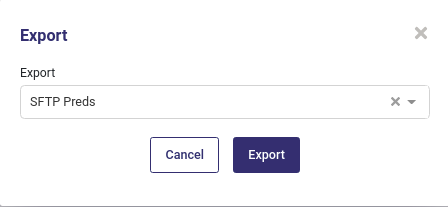
export a dataset
The export of your dataset will start to the location you enter when creating your exporter, with the name input in the exporter. Status of current exportation is available in the list of exporters :

Last export status
And the status all all your export done ever done with one particuliar exporter is available by clicking on its name in the exporter list :

Exporter history
Usage in a Pipeline
Any exporter can be used in a pipeline as an output node, meaning that each time the pipeline will be executed, the exporter will be used to write the result of the pipeline execution on a remote location
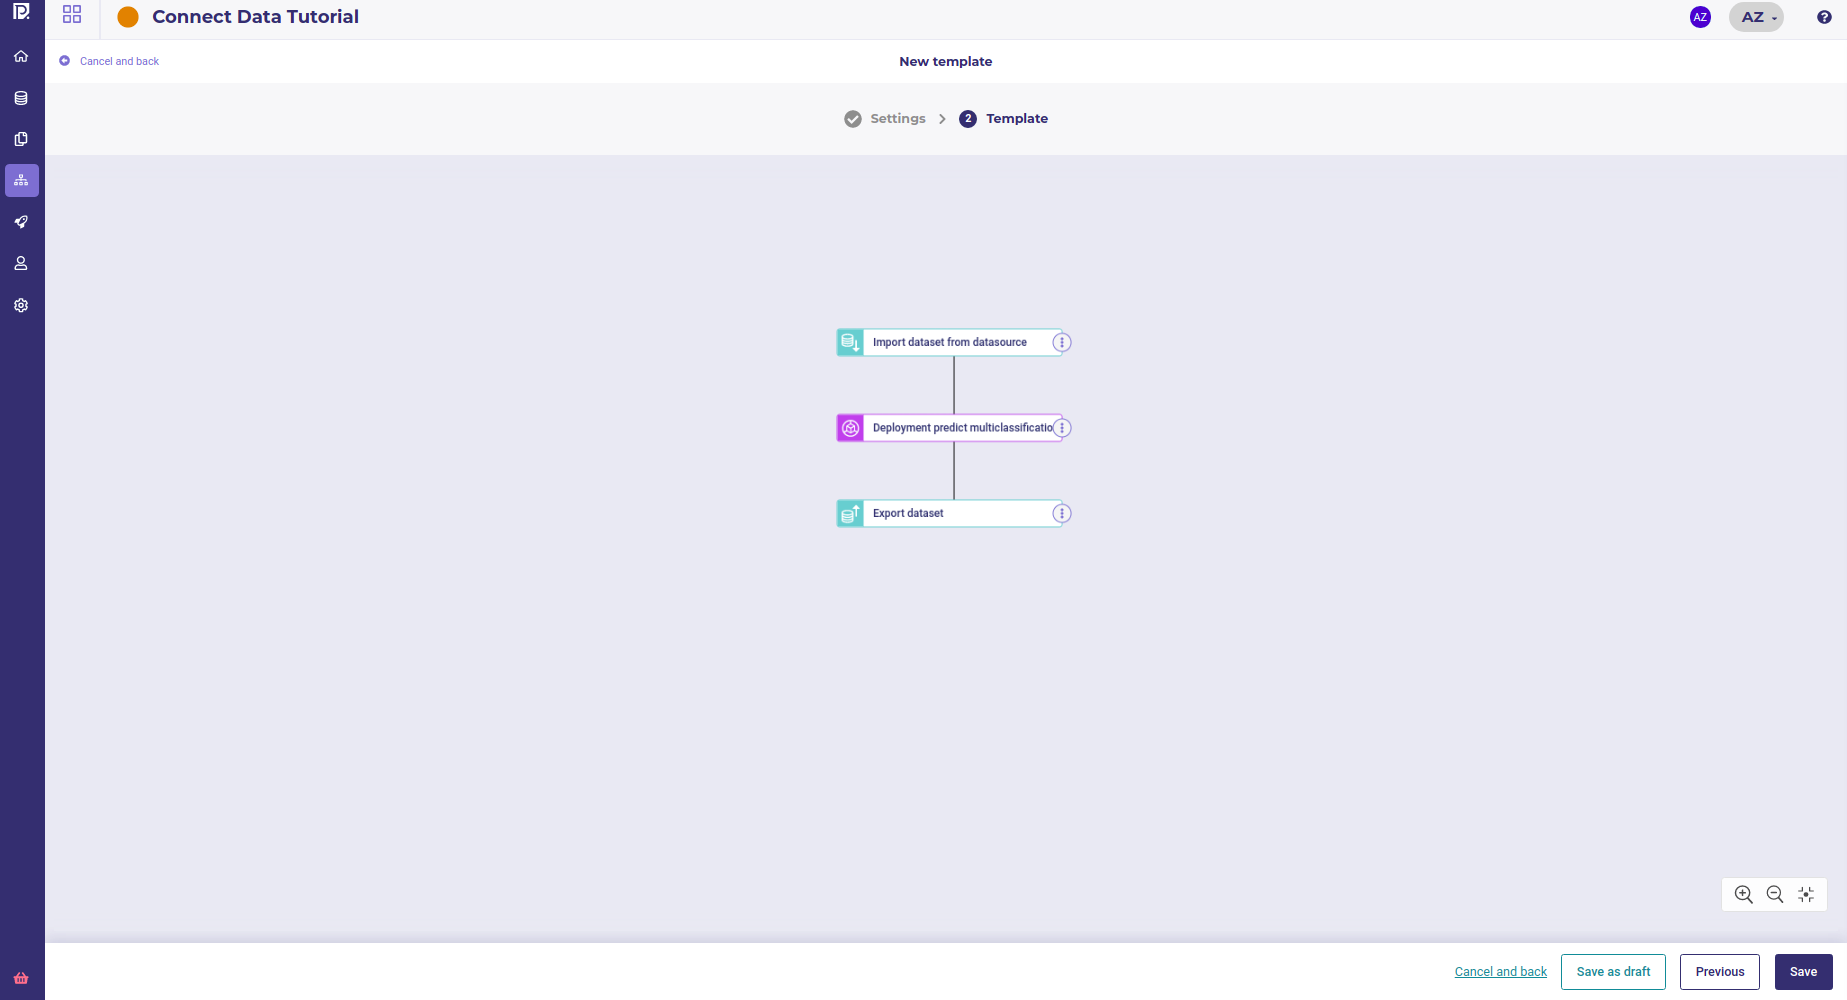
A typical pipeline : import data, make a prediction and export data
The exporter to used for your pipeline will be input when configuring a schedule run, in the configuration screen :
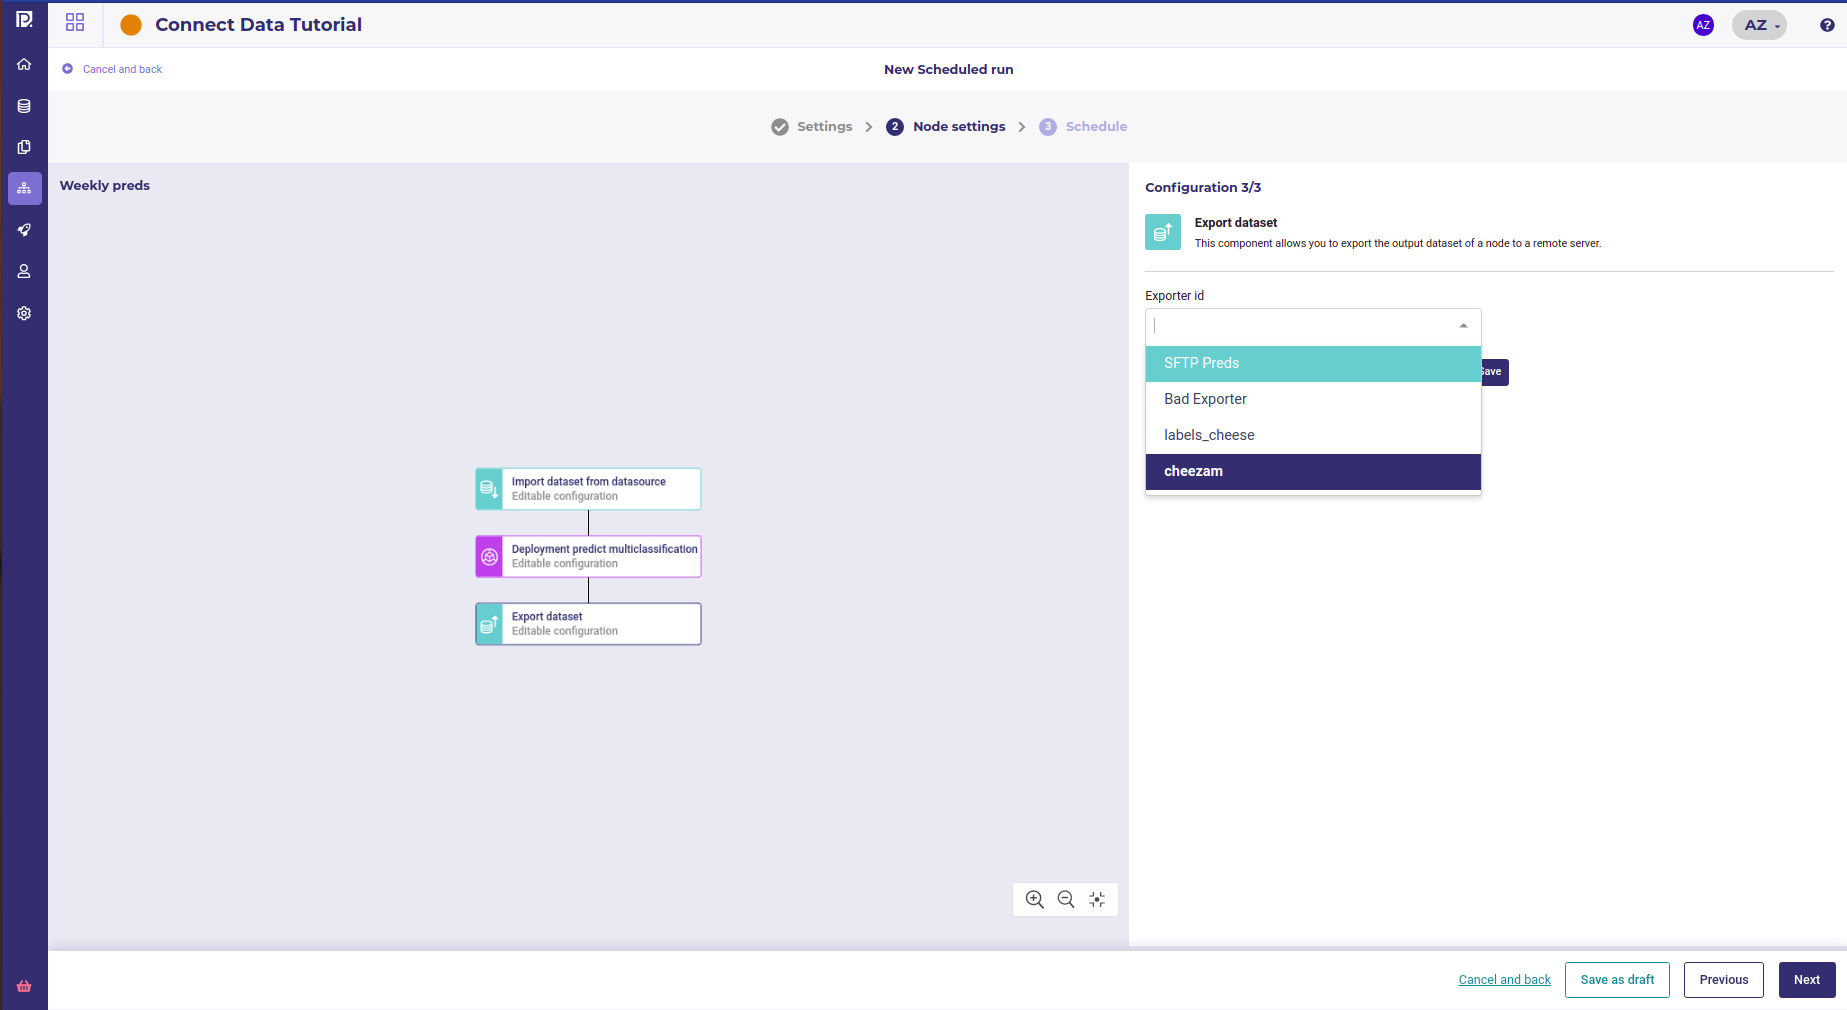
Using a user defined exporter in a schedule run
Then each time your pipeline is executed, the exporter will write the pipeline output to the location you use as exporter parameter when creating it ( either a file location or a database table )