External Model
When running some Experiments you can either use the Automl engine over the data connected or upload your own pretrained models.
Both will benefit from same Prevision.io features :
evaluation,
batch prediction,
deployment,
pipeline integration,
monitoring
External model import uses the Standardized ONNX Format and most of the standard ML library have module for export :
library |
exporter |
link |
|---|---|---|
sklearn |
sklearn-onnx |
|
Tensorflow |
tensorflow-onnx |
|
Pytorch |
torch-onnx |
|
XGBoost |
sklearn-onnx |
http://www.xavierdupre.fr/app/sklearn-onnx/helpsphinx/auto_tutorial/plot_gexternal_xgboost.html |
XGBoost |
onnxmltools |
|
LightGBM |
skl2onnx |
http://www.xavierdupre.fr/app/sklearn-onnx/helpsphinx/auto_tutorial/plot_gexternal_lightgbm.html |
LightGBM |
onnxmltools |
|
CatBoost |
onnxmltools |
If you prefer reading code than document to kickstart your project, you may use this provided boilerplate . This code builds a basic classifier and creates the needed files to use with Prevision Platform :
a Trainset for trying Automl
an holdout file to evaluate each iteration of your experiments
an onnx file
a yaml configuration file ( see below )
git clone https://github.com/previsionio/prevision-onnx-templates.git
cd prevision-onnx-templates
python3.8 -m venv env
source env/bin/activate
pip install -r requirements.txt
python sktoonnx.py
Constraints
Current version of Prevision Platform only supports Structured Data and only for classification, regression and multiclassification (no Natural Language Processing nor Computer Vision Model )
Prerequisites
For importing a model as an experiments you should at least provide :
an holdout file to evaluate the model. This holdout must have the same features and target column than the model was trained on.
the onnx file of the model ( it must be a classification, a regression or a multiclassification )
a config file in the yaml format
You could provide a trainset too. The trainset is going to be used for computing drift ( and thus, expected distribution of features and target in production ) if you deploy your model. If you provide both a trainset and holdout :
score is computed from the holdout
drift is computed from trainset
Note
You could, and probaly should, import many onnx models in one experiment in order to compare them side by side.
How to get the Onnx File ?
To get you onnx file, you need first to build a model, wth standard Machine Learning Frameworks like sklearn or XGBoost, and then export them with exporter modules.
You can get any onnx file from anybody or any tools as long as :
a config file describing the inputs is provided
the output of the model is an array of string (binary classification or multi classification) , an array of numbers ( regression ) of both (a multi classification )
For example :
import numpy as np
from sklearn.ensemble import RandomForestClassifier
from skl2onnx import convert_sklearn
from skl2onnx.common.data_types import FloatTensorType

clf =  RandomForestClassifier(max_depth=50,verbose=1, n_estimators=200, max_features=1)
clf.fit(X_train, y_train)

initial_type = [('float_input', FloatTensorType([None,  np.array(X_train).shape[1]]))]
onx = convert_sklearn(clf, initial_types=initial_type)

with open(join(OUTPUT_PATH,"classif_fraud.onnx"), "wb") as f:
   f.write(onx.SerializeToString())
How to make the yaml config File ?
The config file is a standard yaml file.
You must always provide the list of the names of the inputs and, if the model is a classifier, you must provide the name of the class too.
Beware that the name of the class will be cast as a string so if your class are 1.0 and 0.0 ( because some int has been converted ) , the name of the class must be “1.0” and “0.0”
You could provide your model hyper parameter, like the algorithm used, by providing :
an algorithm field with a string as value ( that can be anythhin ).
a list of key/value i the hyperparams field :
---
class_names:
- A
- B
input:
- DeviceType_desktop
- DeviceType_mobile
- "Code Produit_C"
- "Code Produit_H"
- "Code Produit_R"
- "Code Produit_S"
# optional metadata
algorithm:
- random-forest
hyperparams:
- n_trees: 30
- seed: 42
Any name can be used and. This metadata will only be used for display in the model page. The model are not retrained and yaml purpose is only to provide informations about your models. You could refer to the Prevision.io Github to see how to generate an yaml config file from your model and training data.
Importing an External Model
Once you got all the required assets ( holdout file, onnx file and yaml file), you can launch a new experiment in your project.
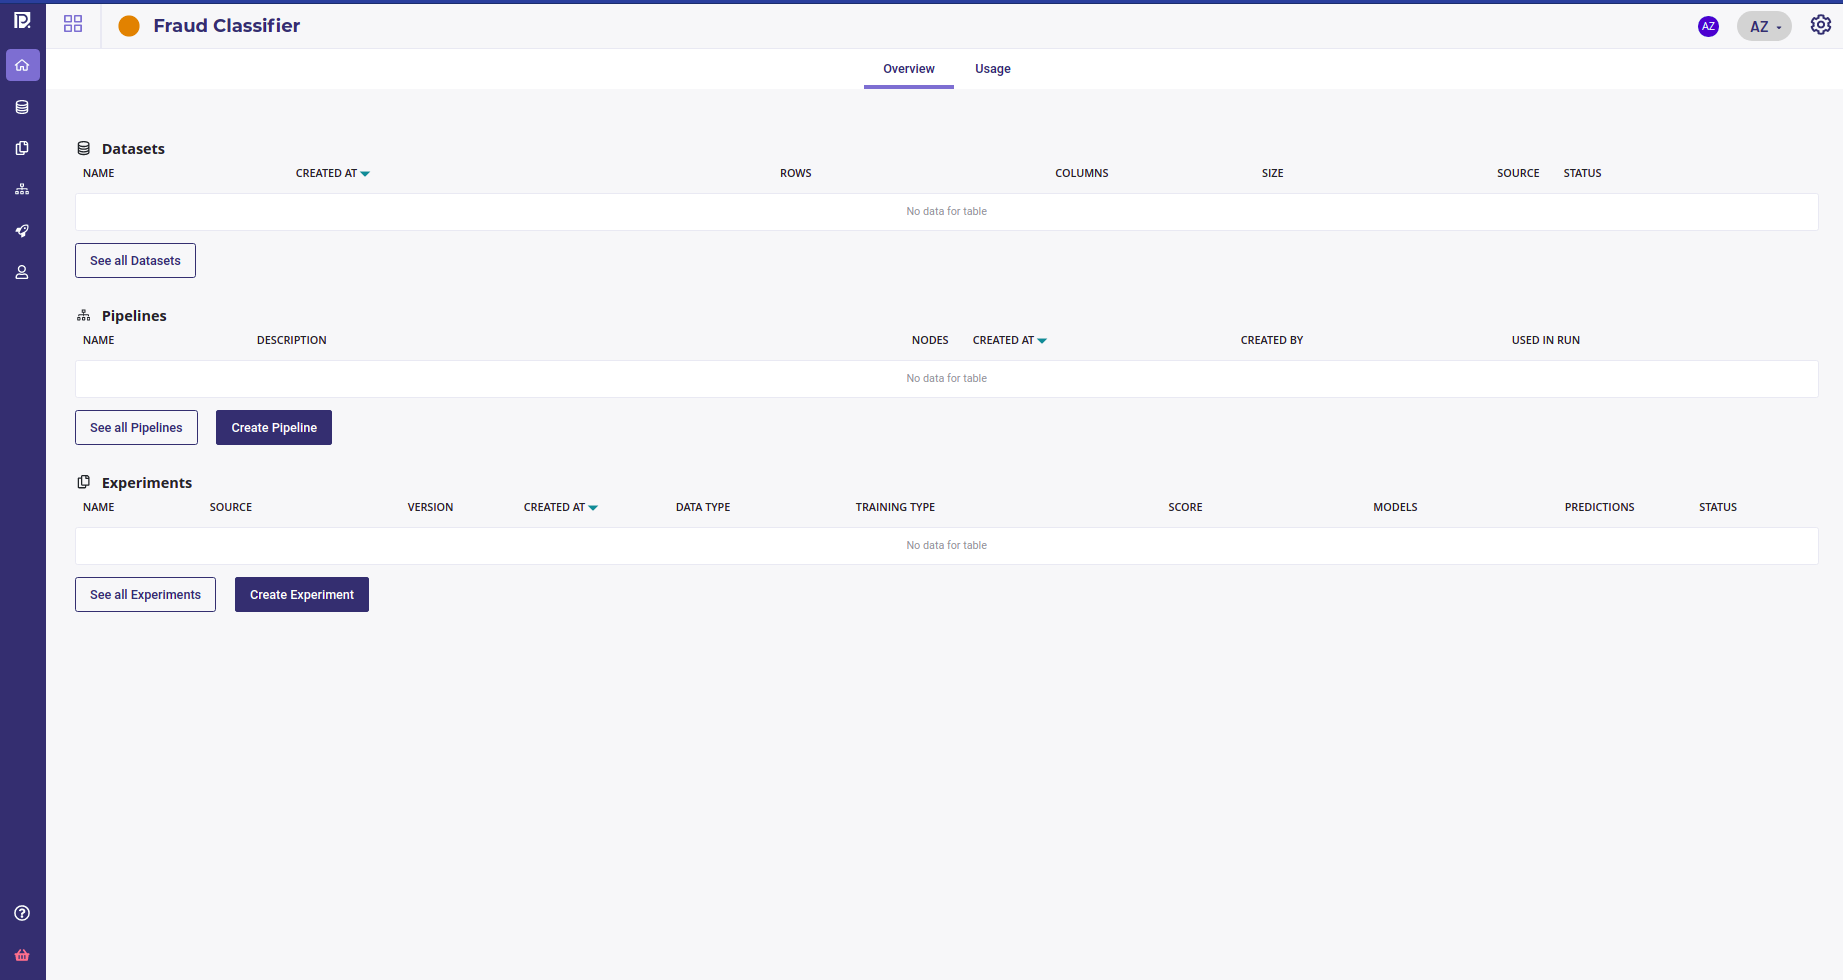
Go to your project homepage and create a new experiment with the “Create experiment” button :
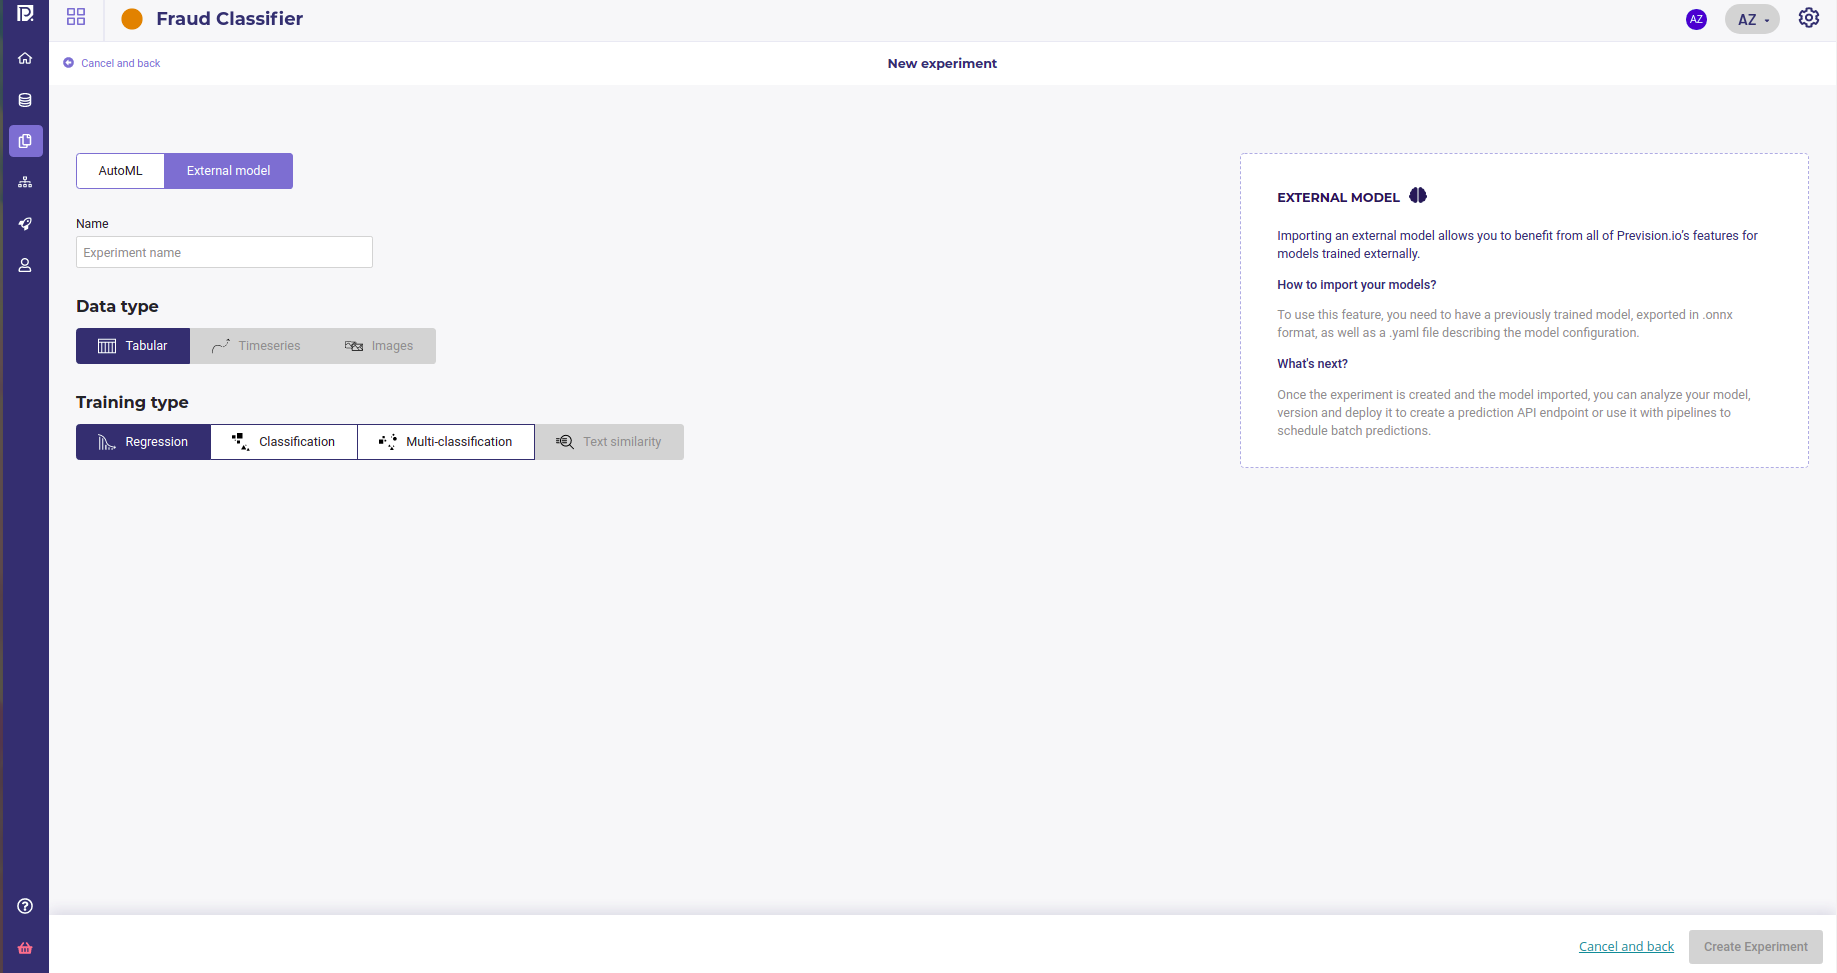
In order to import your model, select “External model”. The Timeseries, Images and Text similarity options will be muted as they are not supported yet. Assign a name to your experiment and click on “Create experiment”
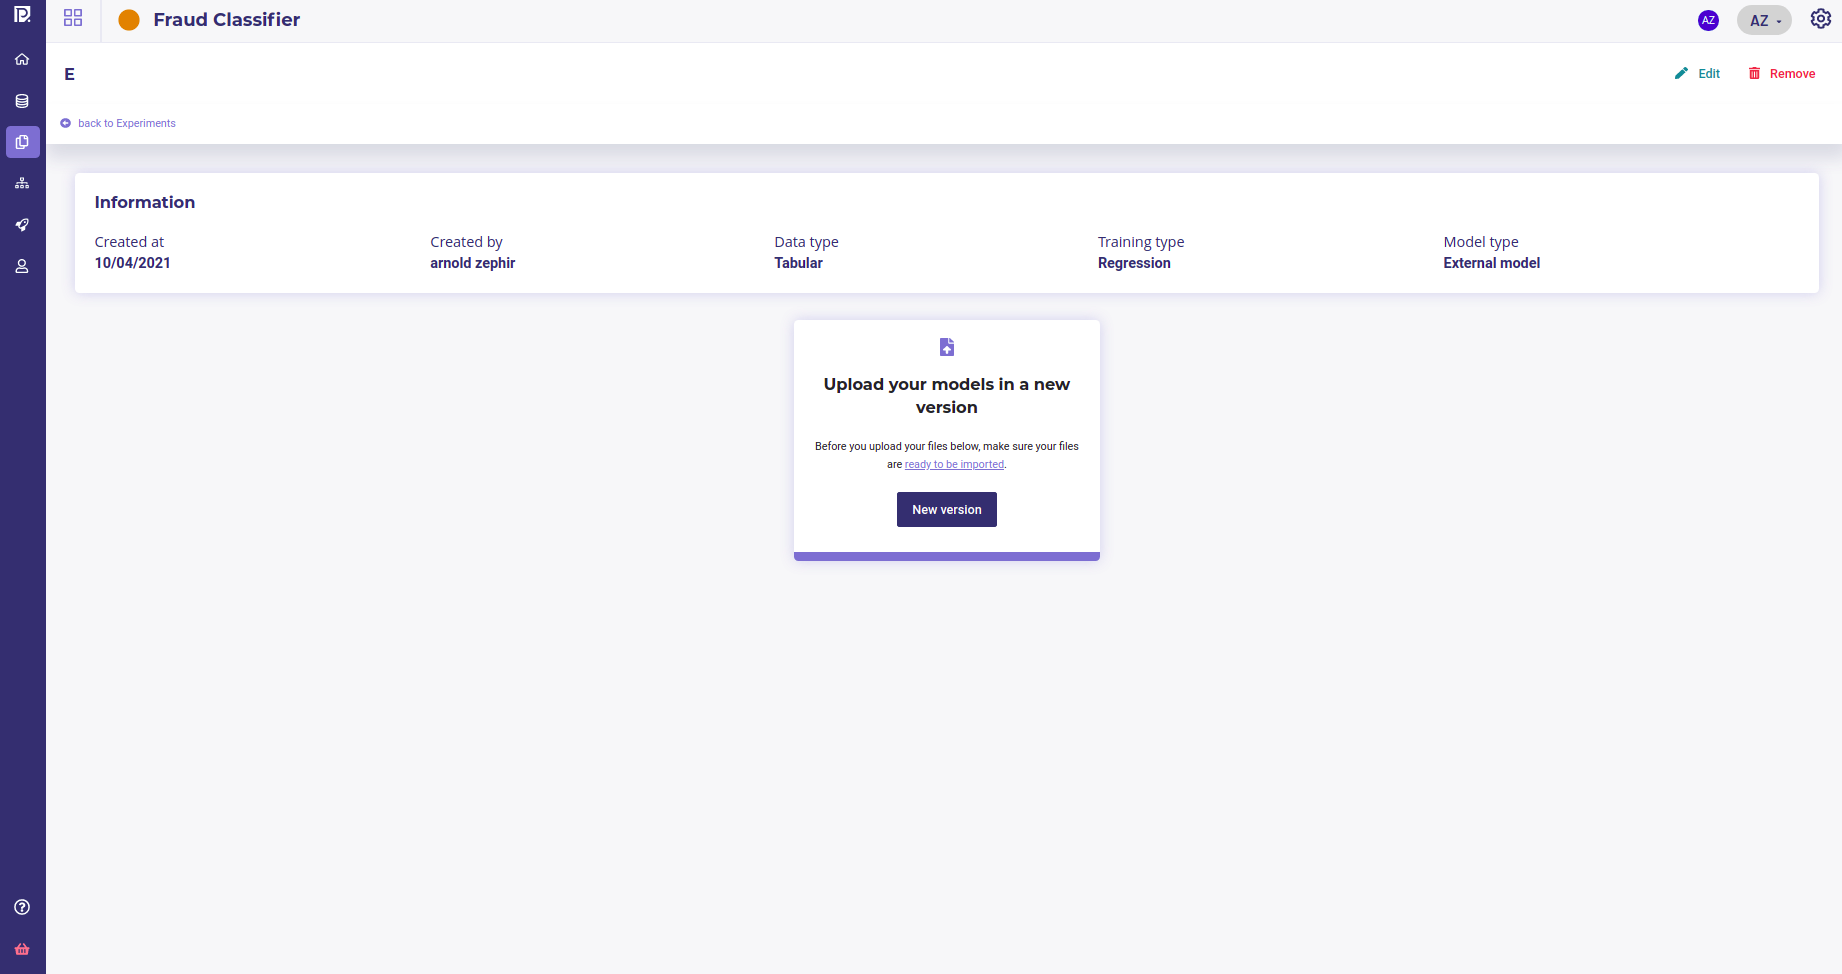
When you create an experiment, you need to create a first version ( see Versionning your experiments )
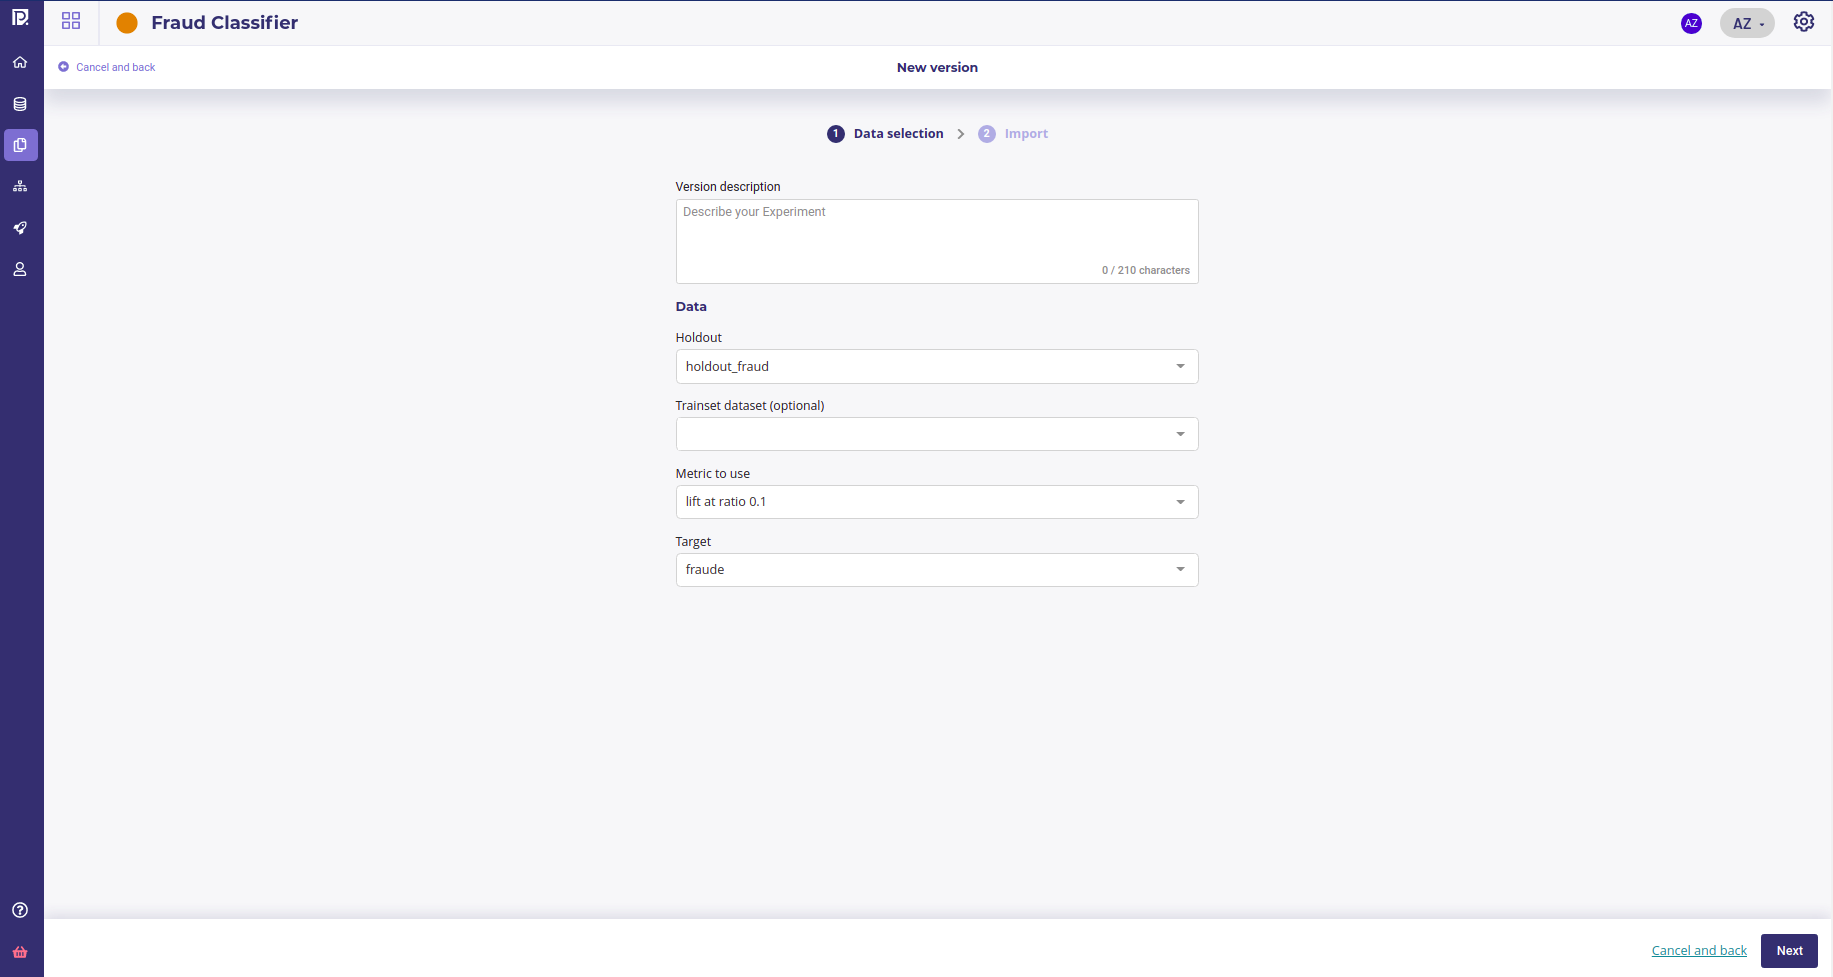
Describe your version and select :
the holdout file to evaluate
the metrics to use for evaluation
the target ( only when you create the first version. Target will always be the same in all version of your experiment )
On the next screen you will be asked to provide an onnx file and a yaml file for each model your upload. You can upload as much model as you want as long as they have the same target.
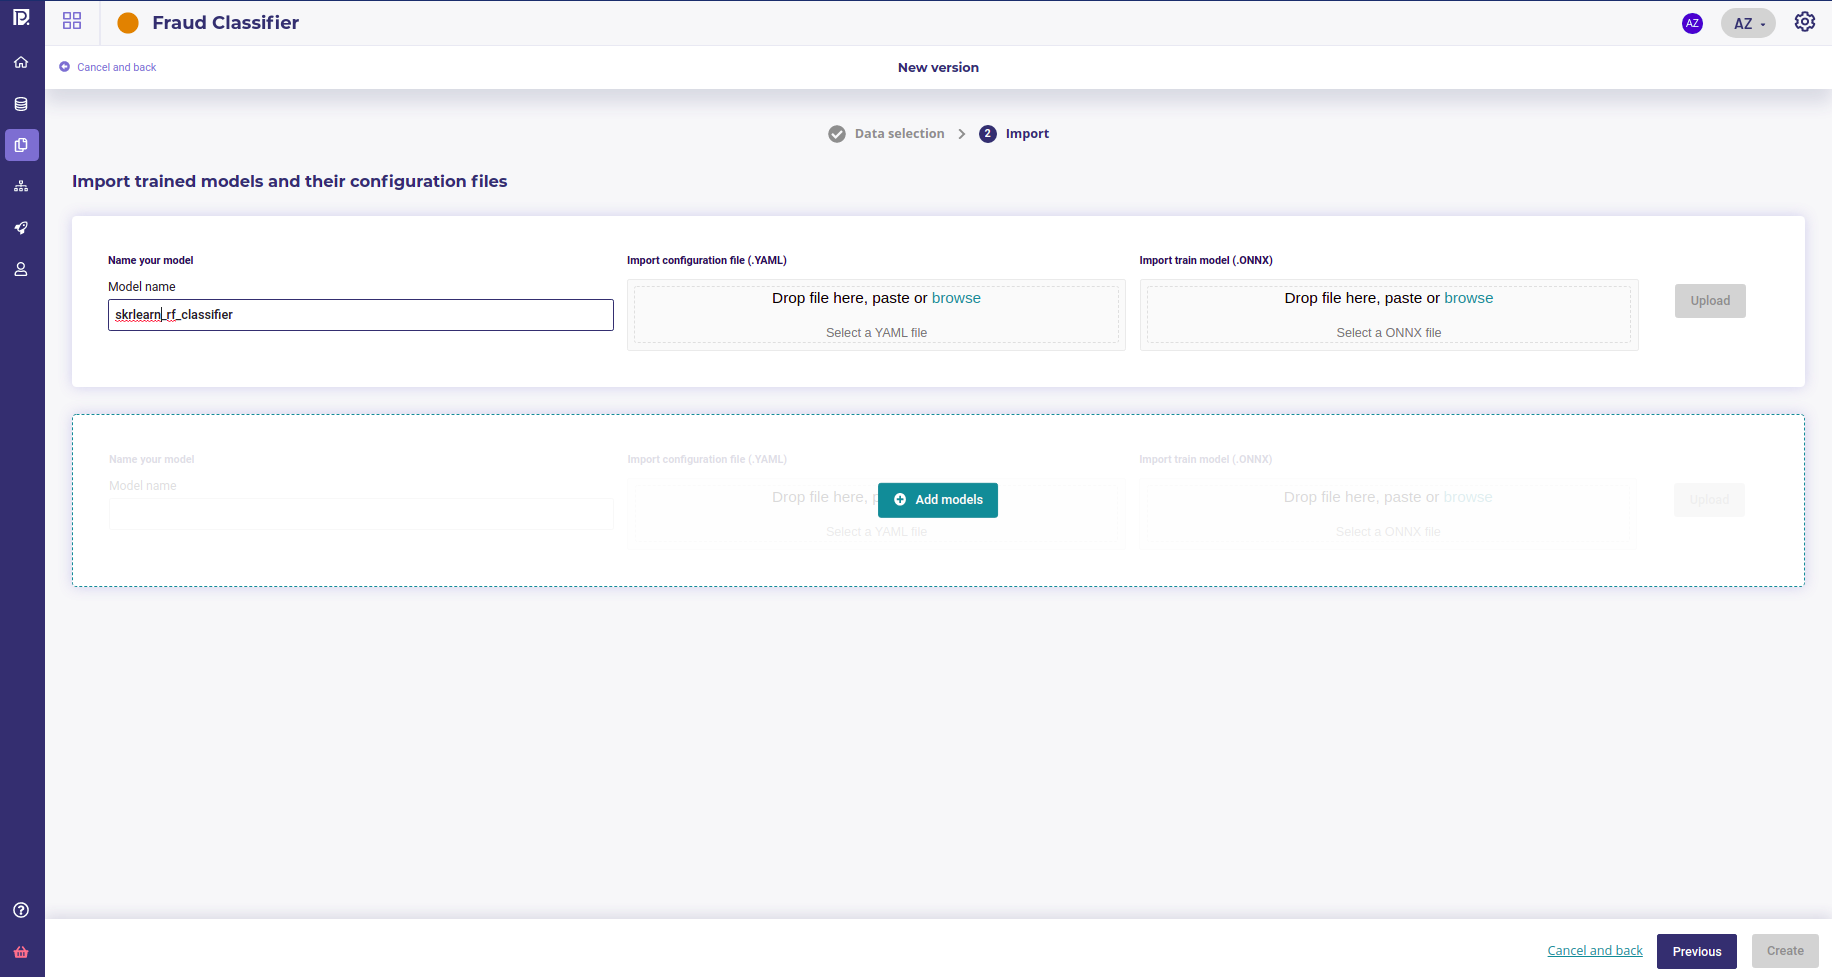
When all ressources are uploaded, you can click on the create button on the bottom right of the screen. All the uploaded models will be evaluating on the holdout dataset upon the metrics you selected before.
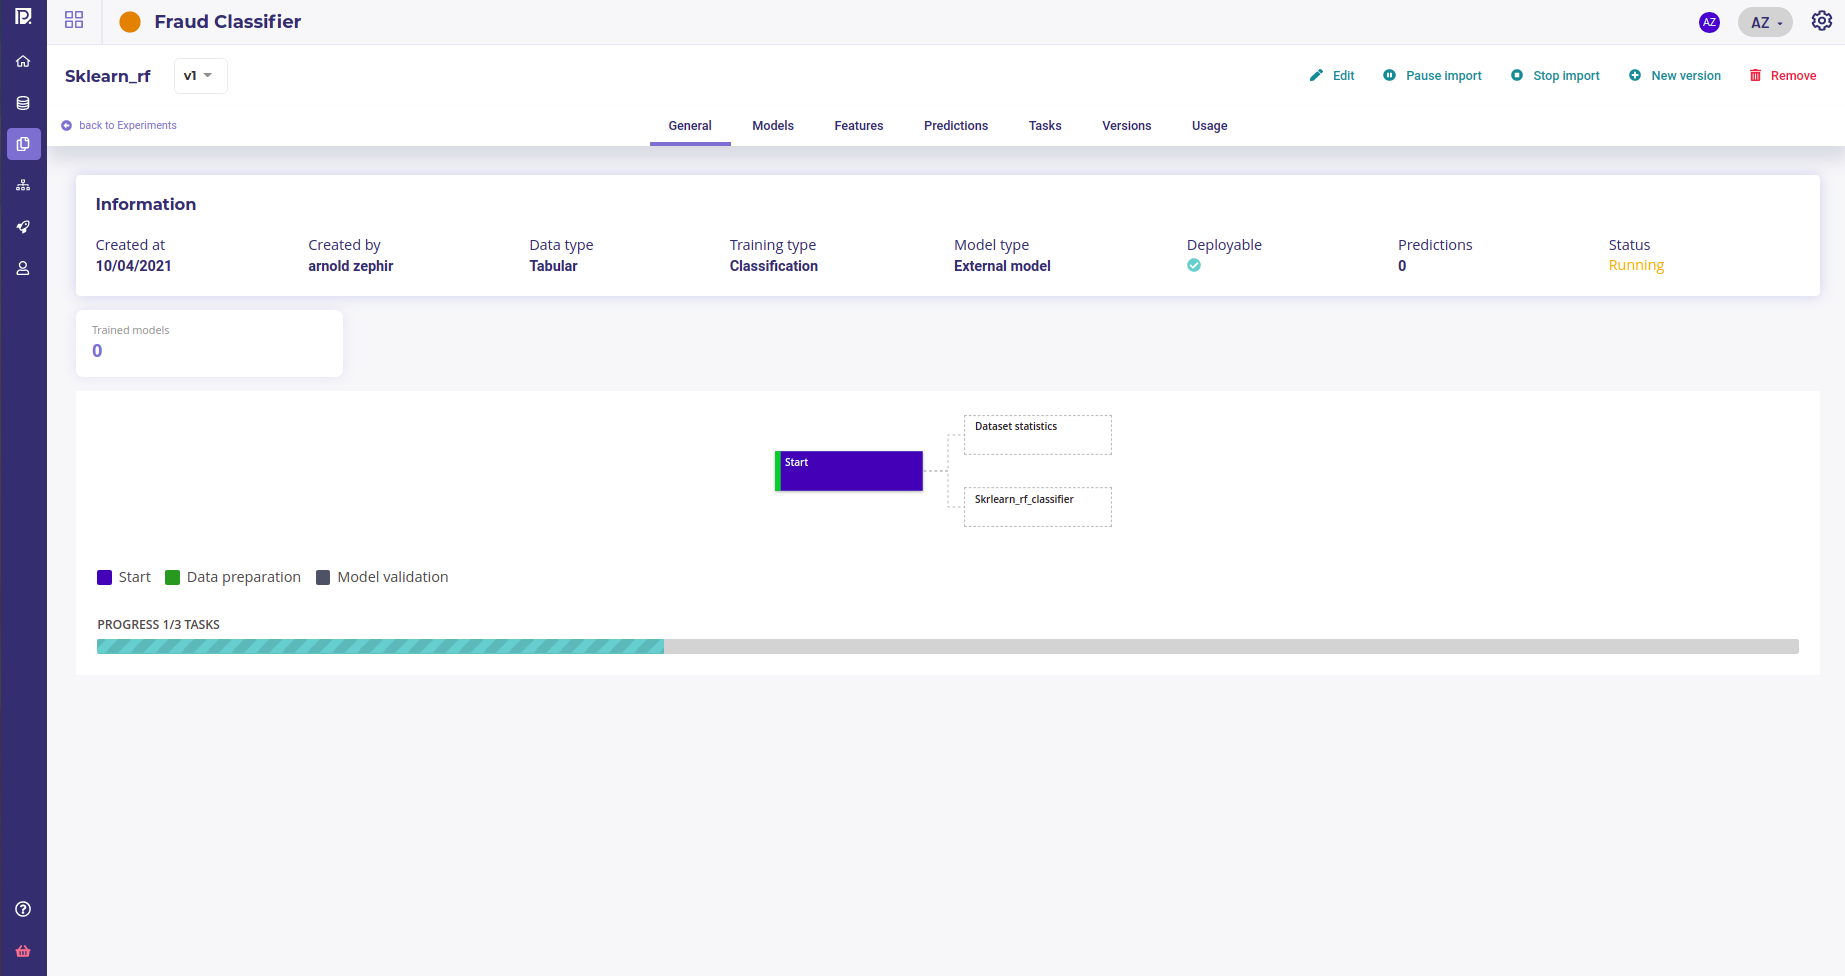
In a few minutes, the experiments shoud be available on the experiment page.

Now you can Evaluate your experiment and proceed to Deployments